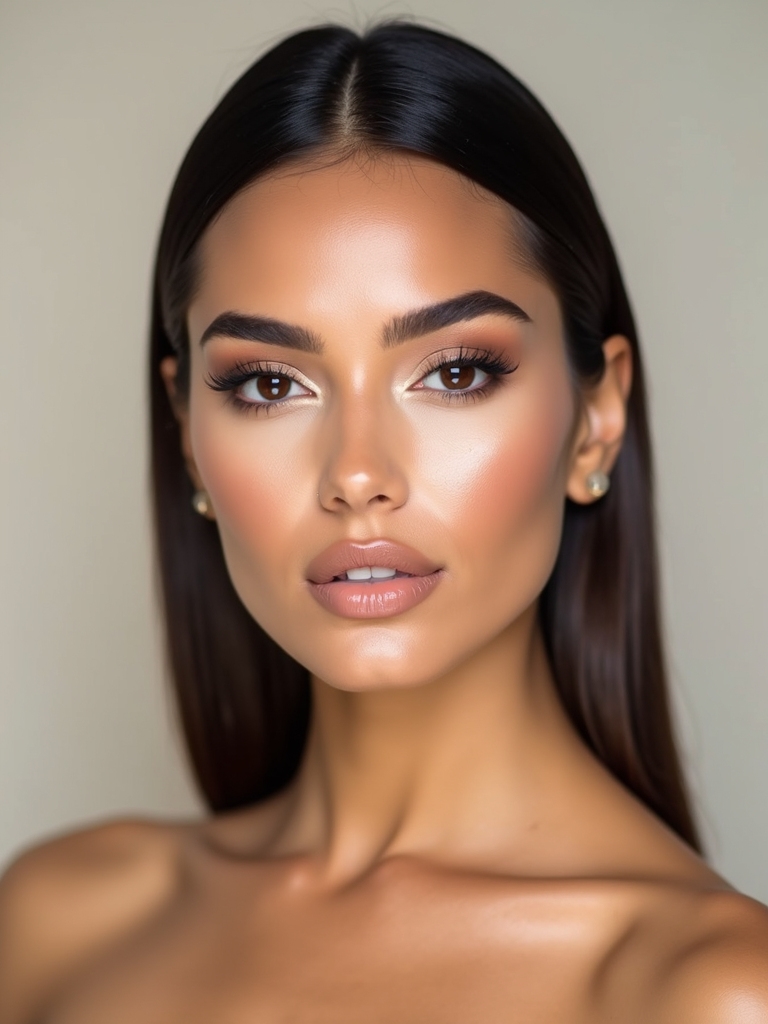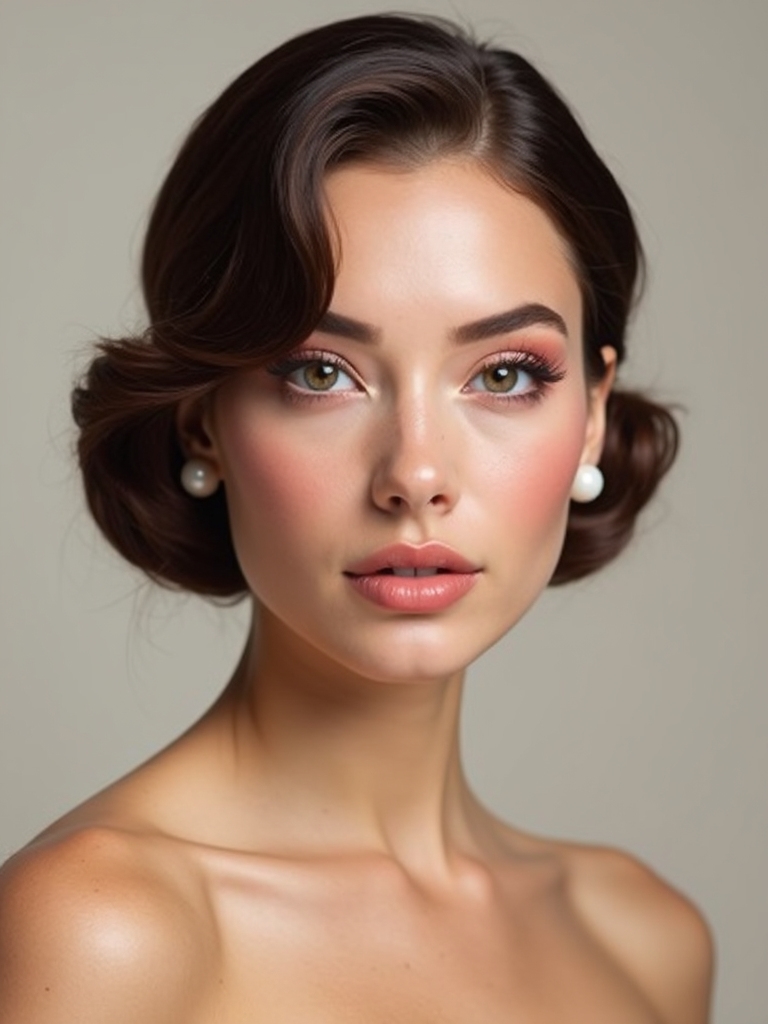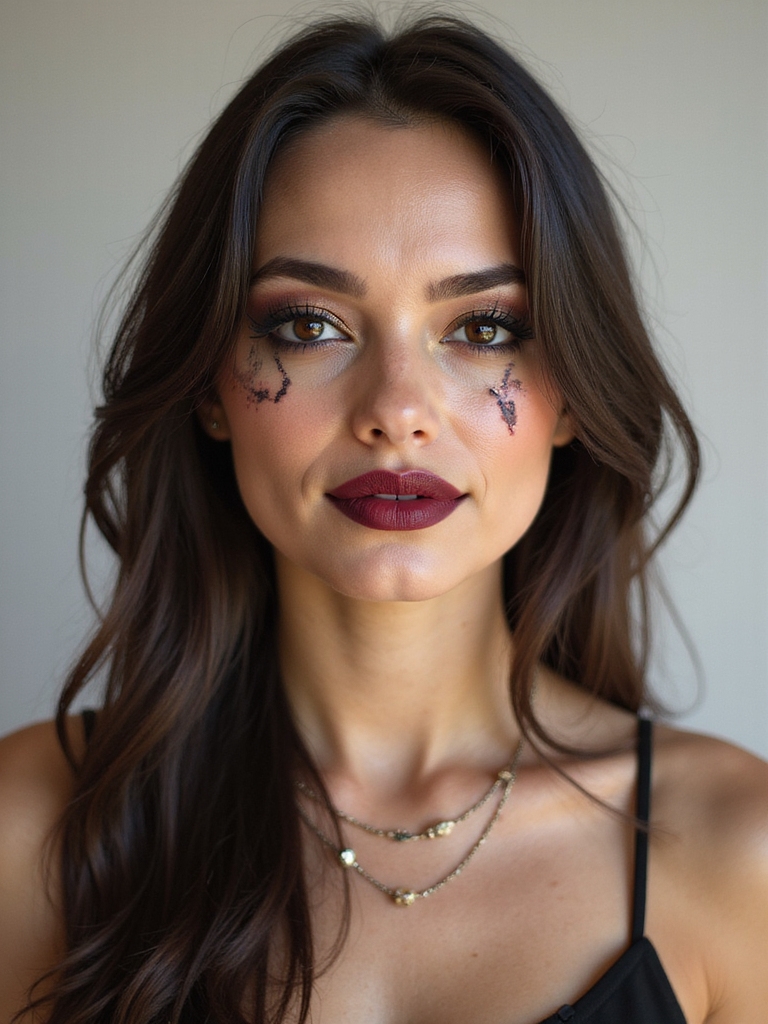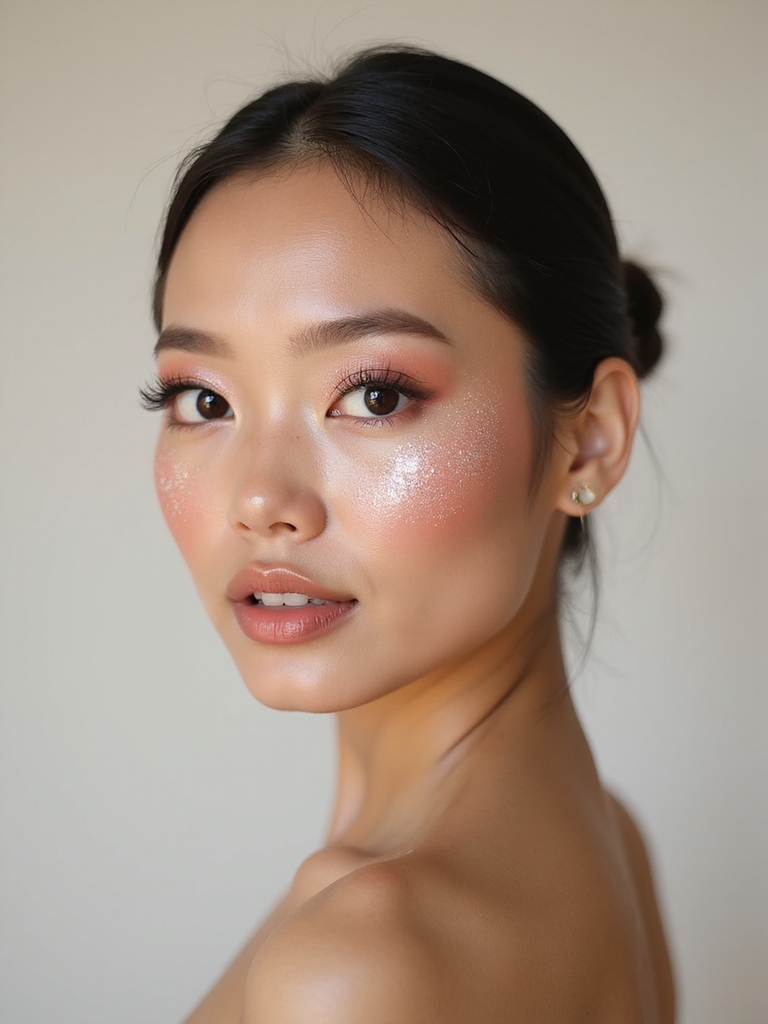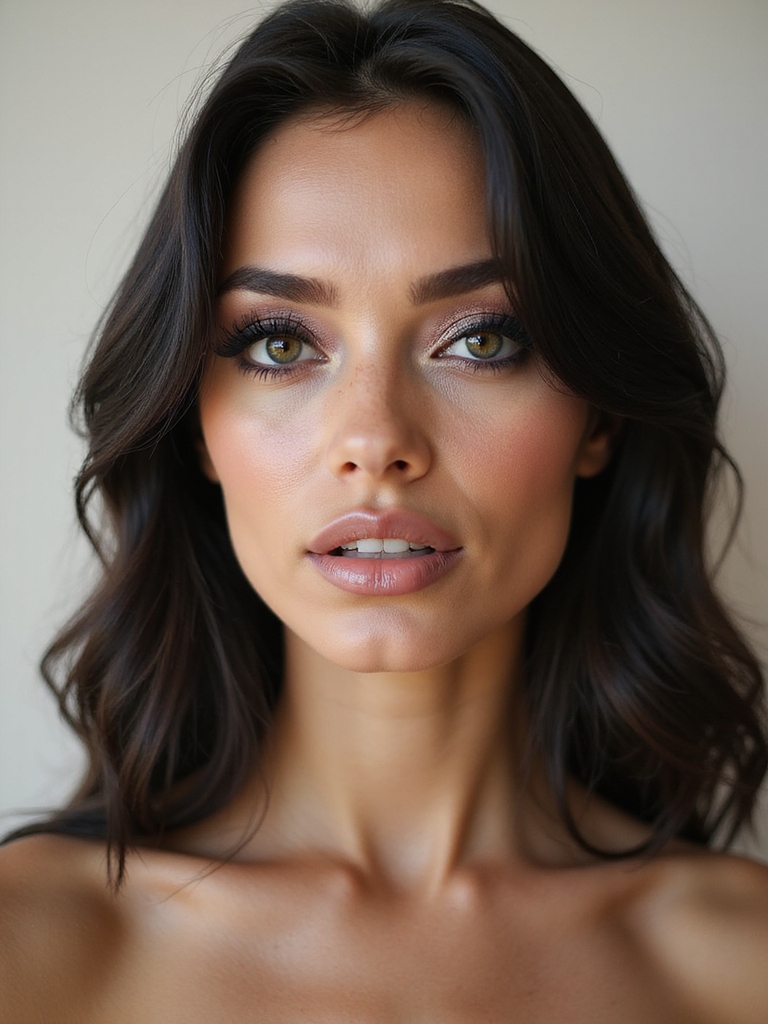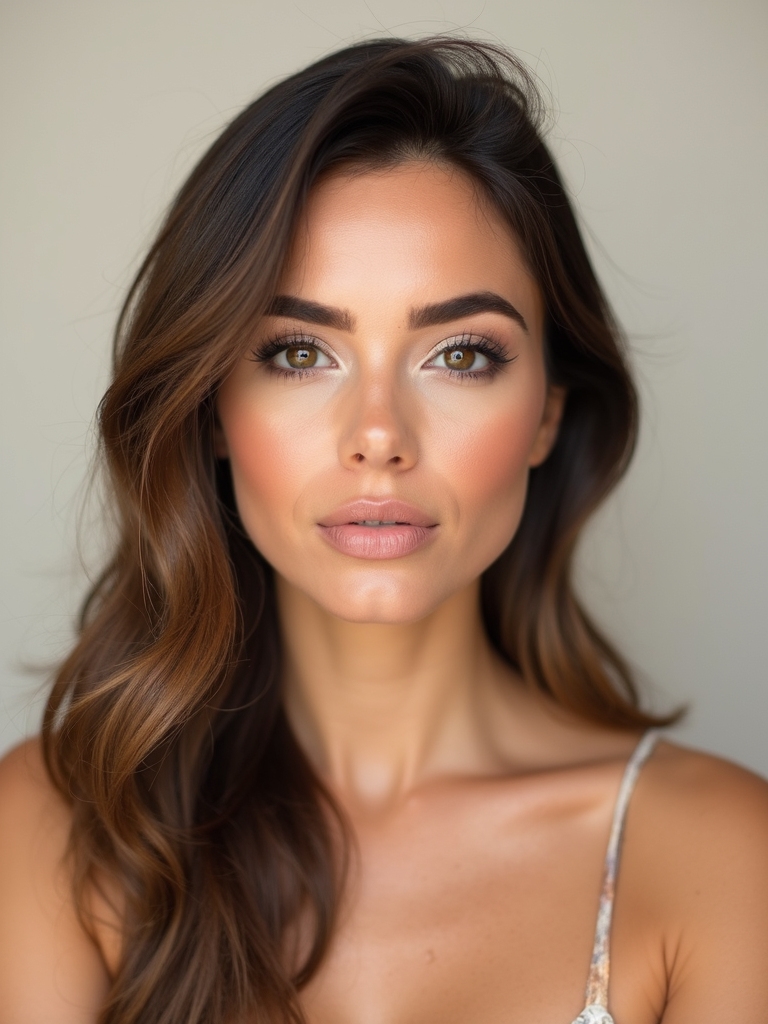
If you’ve ever stood at a makeup counter feeling completely lost, surrounded by products you don’t know how to use, this is for you. Makeup isn’t a talent some people are born with. It’s a handful of small techniques, and once they click, the whole thing stops feeling like a mystery.
This tutorial walks through a full face the beginner way, one learnable trick at a time, from prepping skin to a five-minute everyday look. Each step is the simplest reliable method, with shades and tips for every skin tone, so you can actually follow along and build real confidence.
The Quick Version
- Makeup is a set of simple, learnable techniques, not a talent you’re born with.
- Start with skin and brows, the two steps that change the most.
- A few beginner tricks, the under-eye triangle, dots-to-wings liner, brow mapping, make it all click.
- Less product, blended well always beats more product applied heavily.
Cleanse, Hydrate, Prime
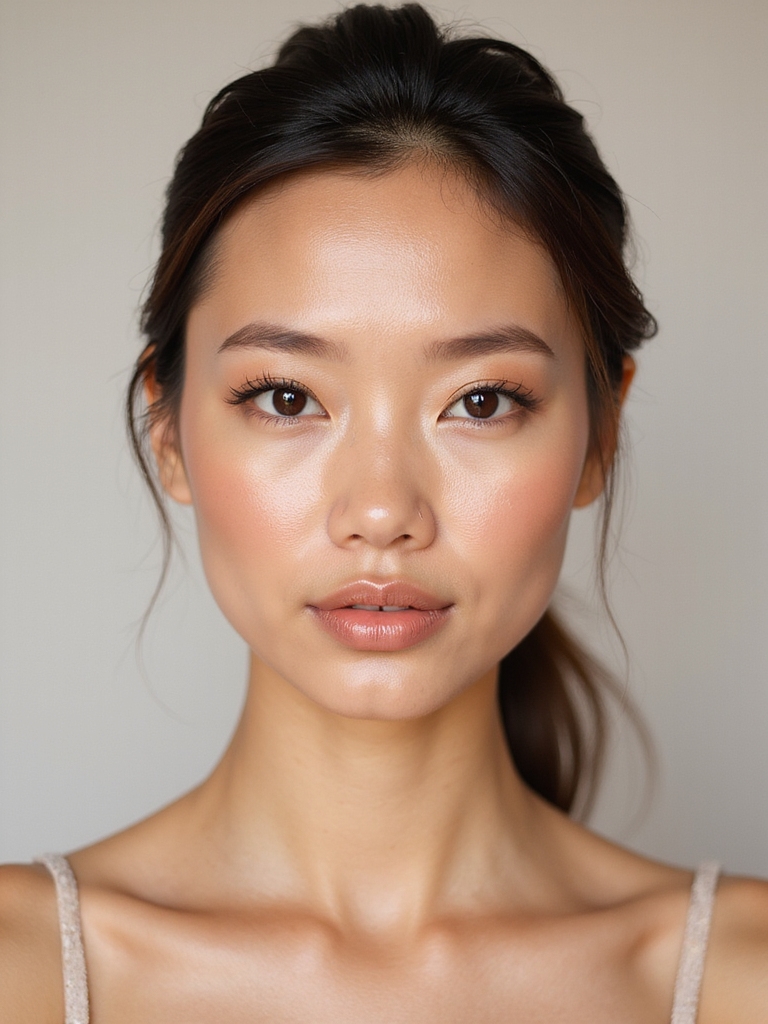
Before any makeup, beginners should learn the most boring but important step: skin prep. Clean, moisturized, primed skin is the canvas everything else sits on, and skipping it is why makeup goes patchy.
Cleanse, moisturize for your skin type, add SPF, and prime if your skin needs grip, then let it absorb. This minute of prep does more for a beginner’s results than any product, and it sets up a smooth base. The full application order lives in our makeup routine guide.
- Cleanse, moisturize, SPF, prime before makeup
- Let it absorb so the base goes on smooth
- Skipping prep is the top cause of patchy makeup

Swatch on the Jaw in Natural Light
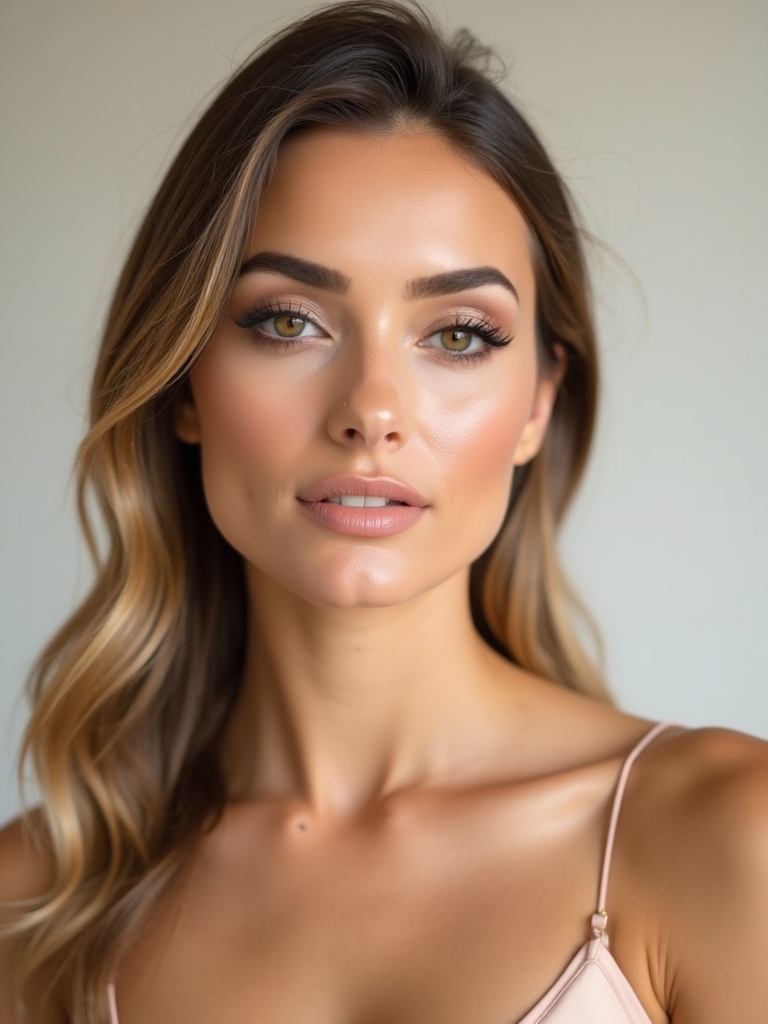
The most common beginner mistake is the wrong foundation shade, and the fix is simple: swatch on your jaw in natural light. The jaw, not your hand or wrist, matches your face and neck.
Test on the Jaw, in Daylight
Draw a stripe of two or three shades along the jawline, step into daylight, and pick the one that disappears. A shade that looks gray is too cool, while one that looks orange is too warm.
Undertone matters as much as depth, especially on deep skin, where the wrong undertone goes ashy or muddy. Take the time to test, since the right shade is what makes everything else look natural.
A few terms every beginner should know:
📖Swatch
Testing a product on your skin to check the color before buying or applying it.
📖Color correct
Using a complementary shade, peach or green, to cancel out darkness or redness.
📖Tightline
Lining the base of the upper lashes to define them almost invisibly.
Dot and Blend for a Skin-Like Finish
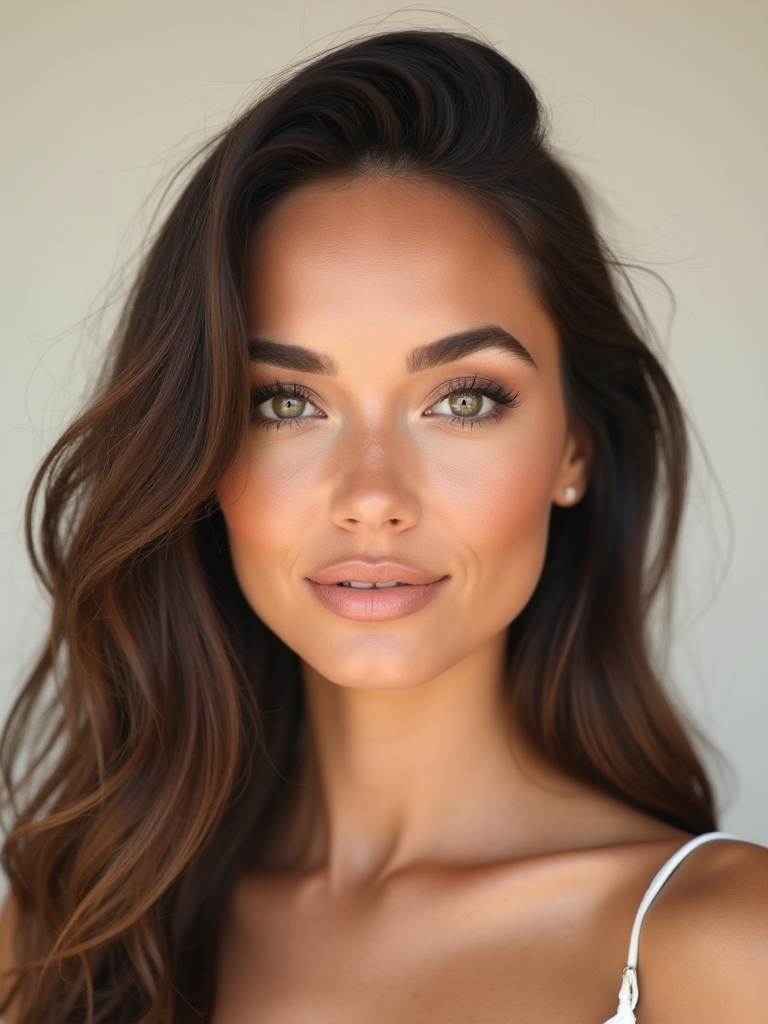
Applying foundation has one beginner-friendly technique: dot and blend. Dotting small amounts and blending them out uses less product and looks far more natural, a world away from slathering it on.
Put a few small dots of foundation across the face, then press and roll them out with a damp sponge. The damp sponge sheers the product and presses it into the skin for a skin-like finish.
Build a second thin layer only where you want more coverage, and spot-conceal the rest. This keeps skin looking like skin, which is the whole point of a natural makeup base.
The Upside-Down Triangle for Brightening
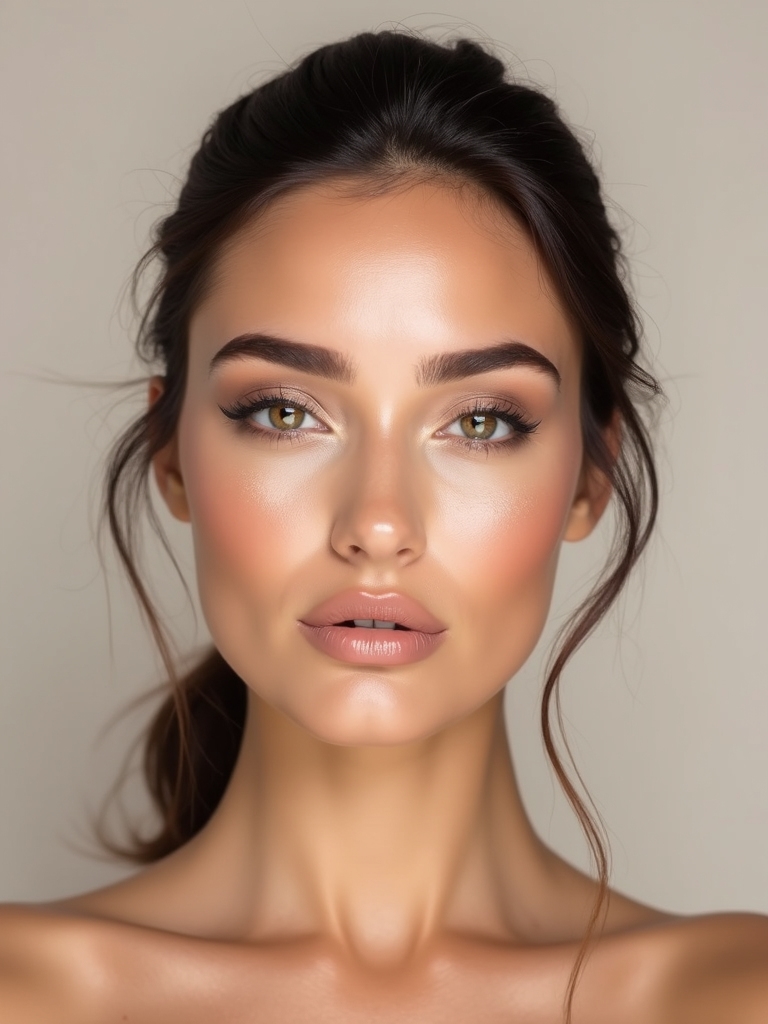
The under-eye triangle is the trick that instantly makes you look more awake, and it’s pure makeup-artist knowledge most beginners haven’t met. The idea is to draw a downward triangle of concealer below the eye.
Brighten in a Triangle
Apply concealer in an upside-down triangle from the inner to the outer under-eye, point toward your cheek, then blend it up and out. The triangle brightens the whole center of the face, circles and all.
Use a concealer a shade lighter than your foundation and set it lightly so it doesn’t crease. This one technique does more for a tired face than anything else in the bag.
“The number one thing I tell makeup beginners: blend, then blend again. Almost every ‘mistake’ is just an unblended edge. Harsh lines are what make makeup look amateur, and a clean brush or a damp sponge fixes nearly all of them.”
Set Only Your Trouble Zones
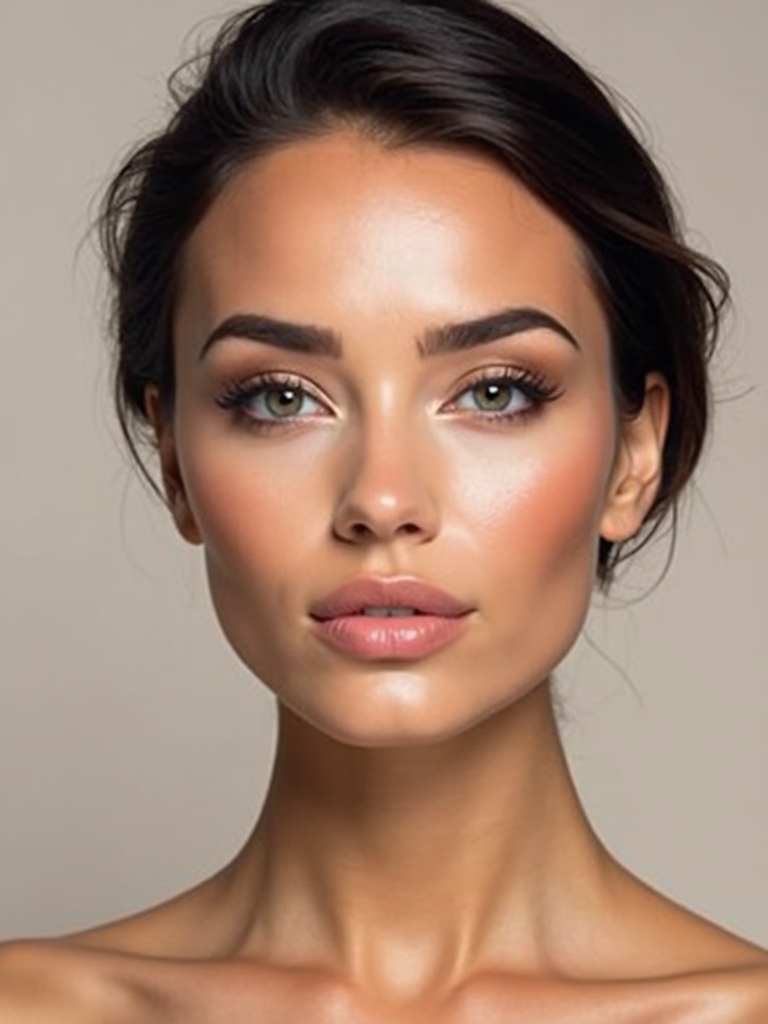
Setting powder is where beginners overdo it, dusting it everywhere and ending up flat and cakey. The move is to set only your trouble zones, the areas that get oily or where makeup tends to move.
Press a light powder onto the T-zone and under the eyes, where concealer creases, and leave the rest bare so your skin keeps its natural glow. A little powder in the right spots locks the base, while powder everywhere kills the glow.
Map Your Brows With a Pencil
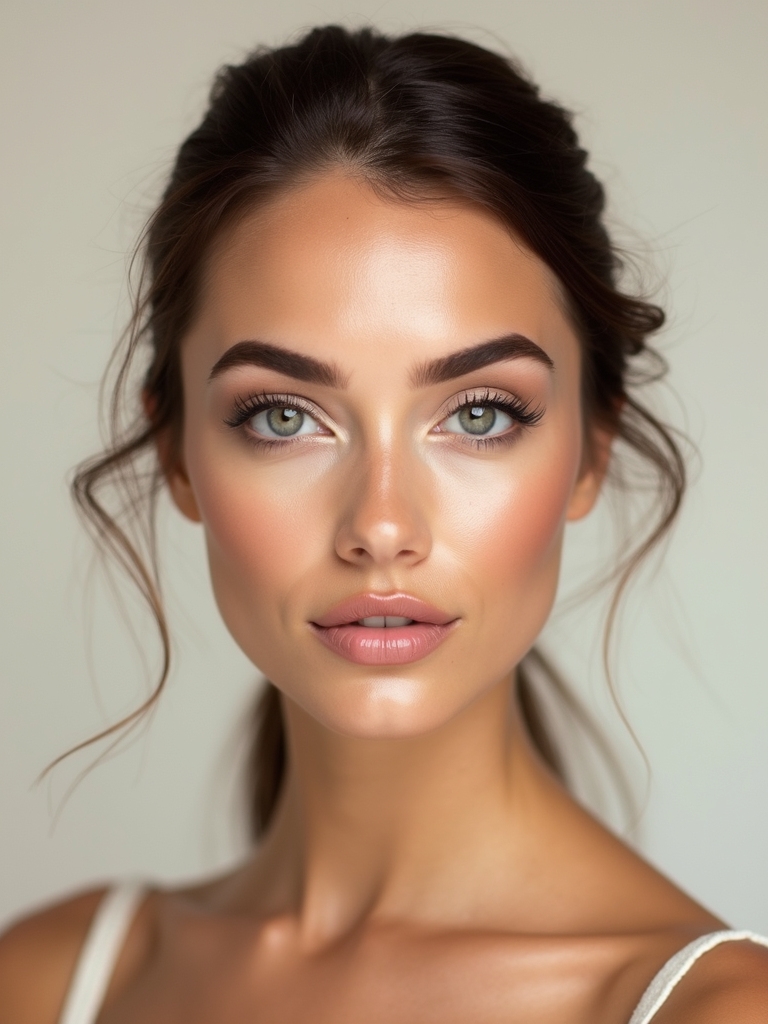
Brows make the biggest difference for the least skill, once you learn to map them. Pencil-guided mapping finds where your brow should start, arch, and end so both sides match.
Hold a pencil vertically against your nose to mark where the brow should start, angle it to your iris for the arch, and to your outer eye for the end. Fill between those points with light, hair-like strokes.
Brushing the hairs up first and using a shade close to your own keeps the brows natural. Mapping is what stops the mismatched-brow problem every beginner fears.
A beginner’s full face, in order:
1Skin
Prep, then a sheer base and spot-conceal under the eyes.
2Brows and eyes
Map the brows, then one shadow wash, liner, and mascara.
3Color and finish
Blush, soft bronzer, a touch of highlight, and a lip.
A Single Soft Matte Wash
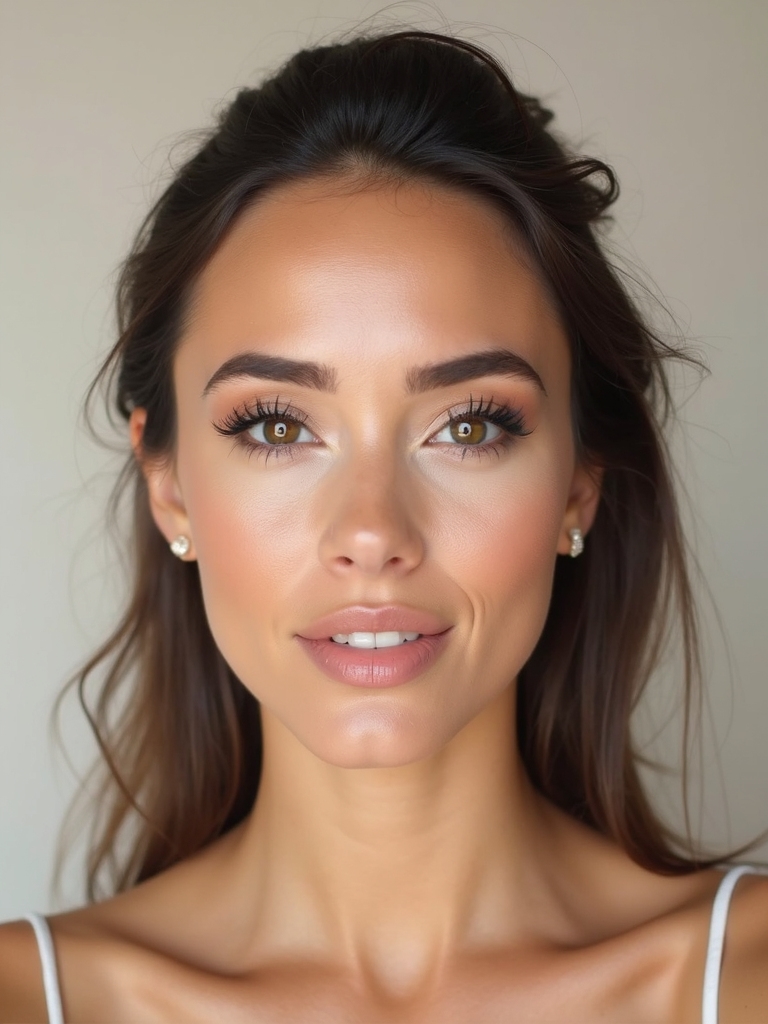
Eyeshadow intimidates beginners, so start with the easiest possible eye: a single soft matte wash. One neutral shade is foolproof, and our low-contrast makeup guide has more soft, blended ideas. How to:
- Sweep one soft matte shade (taupe or soft brown) over the lid
- Blend the top edge with a clean fluffy brush until soft
- Add the same shade lightly under the lower lashes
- That’s a complete eye; build more only when you’re ready
Dots to Wings: Steady Eyeliner
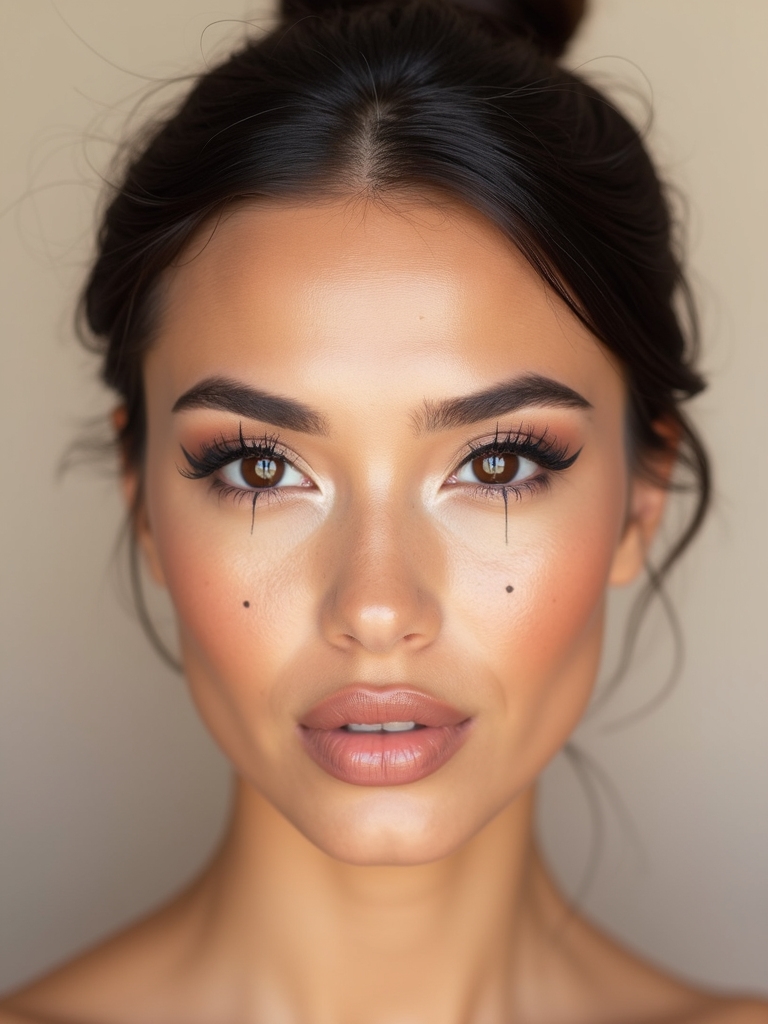
Eyeliner is the technique beginners dread most, and the dots-to-wings trick makes it foolproof. You place a series of small dots along the lash line and connect them, so there’s no shaky line to drag. The dots act as a guide, so the line comes out even, and you can build a small wing by adding a dot at the outer corner and joining it up.
Brown liner is more forgiving than black for a first try, and it flatters brown eyes especially, as our makeup for brown eyes guide shows.
- Place small dots along the lash line, then connect them
- The dots guide an even line, with no shaky drag
- Brown is the most forgiving color for beginners
Beginner tip
Buy a good base and a few brushes before a giant shadow palette. Beginners get far more mileage from a flattering foundation, a fluffy blending brush, and a damp sponge than from forty eyeshadows they’ll never touch.
Curl, Then Coat: Clump-Free Mascara
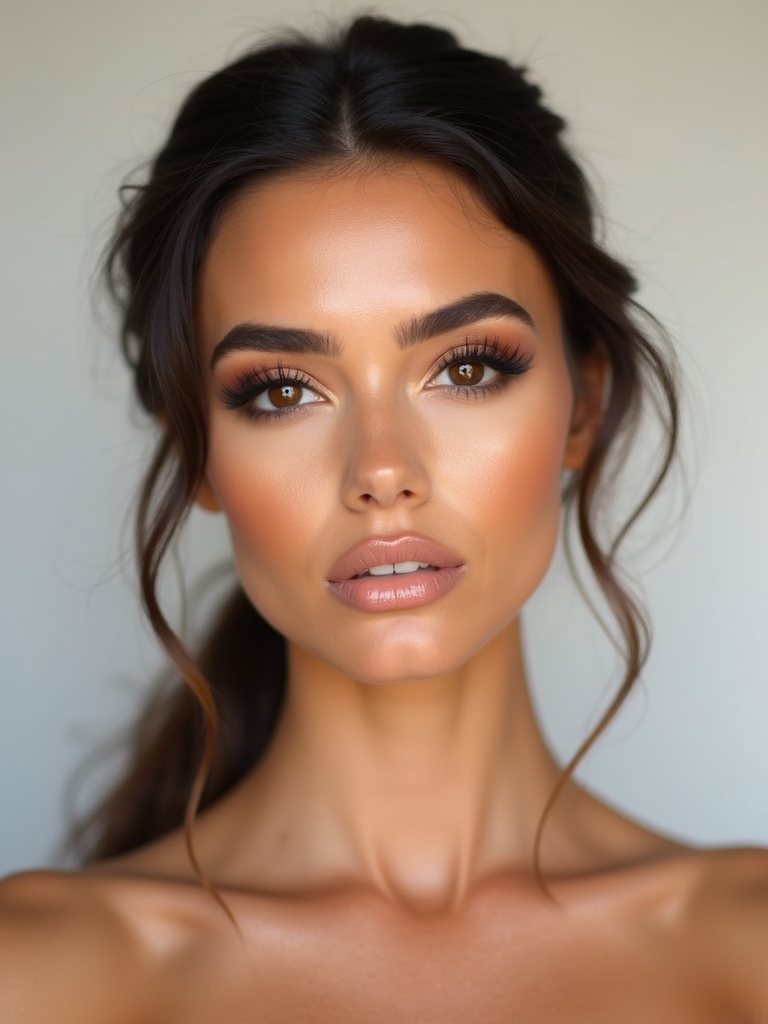
Mascara seems simple, but two beginner tricks transform it: curl first, then coat without clumping. Curling the lashes before mascara opens the eye more than any amount of product can.
Use a lash curler at the base for ten seconds, then apply mascara by wiggling the wand at the roots and pulling up through the lashes. Wipe the excess off the wand first to avoid clumps, and one or two coats is plenty.
Blush Placement by Face Shape
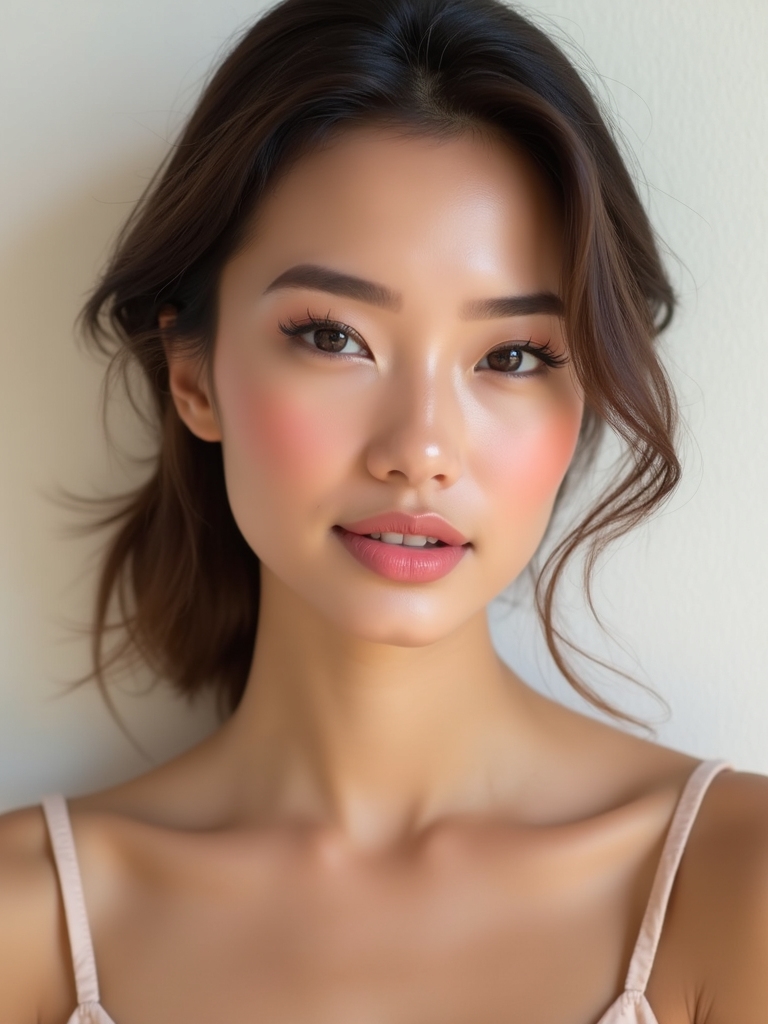
Where you place blush decides how flattering it is just as much as the color does, and it shifts a little by face shape. The beginner rule:
- Round face: sweep blush up and back toward the temples to lengthen
- Long face: keep blush more horizontal across the cheeks
- Square or angular: blush on the apples softens the face
- Cream blush is the most beginner-friendly, blended with a finger
Soft Bronzer Sculpting
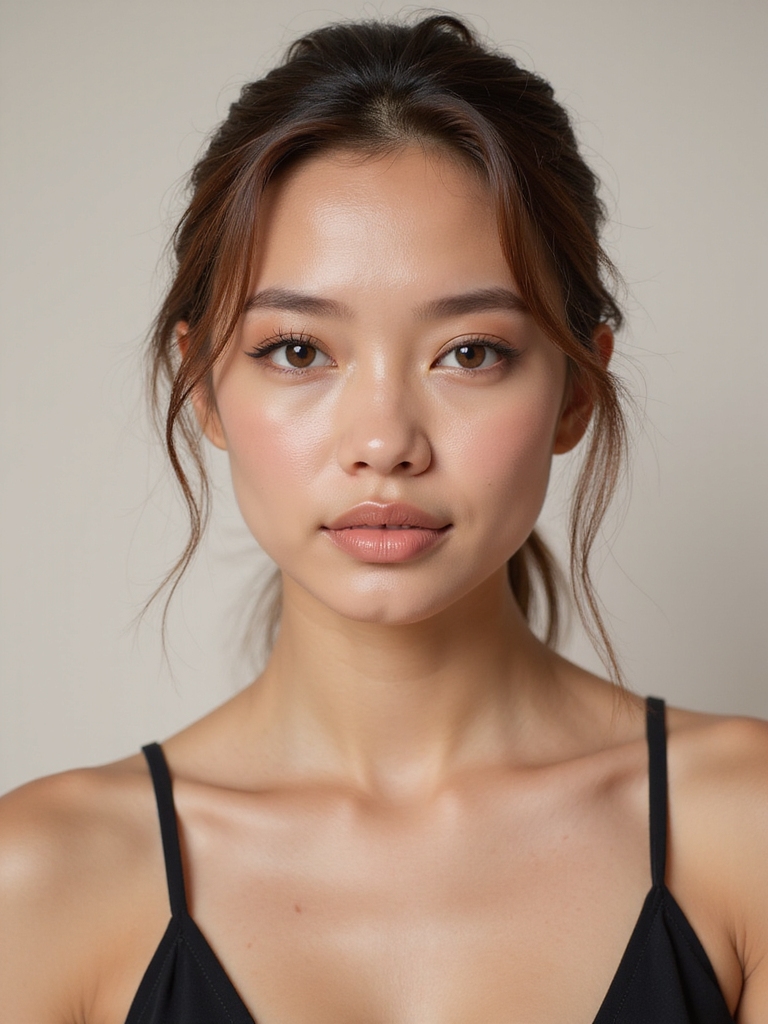
Soft bronzer is the beginner’s contour: warmth and gentle shaping, far easier than real contour. The aim is a sun-kissed warmth across the face.
Use a matte bronzer just a shade or two deeper than your skin, sweep it lightly on the temples, under the cheekbones, and along the jaw, then blend well. Keep it soft, and you’ll add dimension without anyone spotting the makeup.
- A matte bronzer for soft warmth, not harsh contour
- Apply on temples, under the cheekbones, and the jaw
- Blend thoroughly so there’s no visible line
Highlight the Cheekbone and Brow
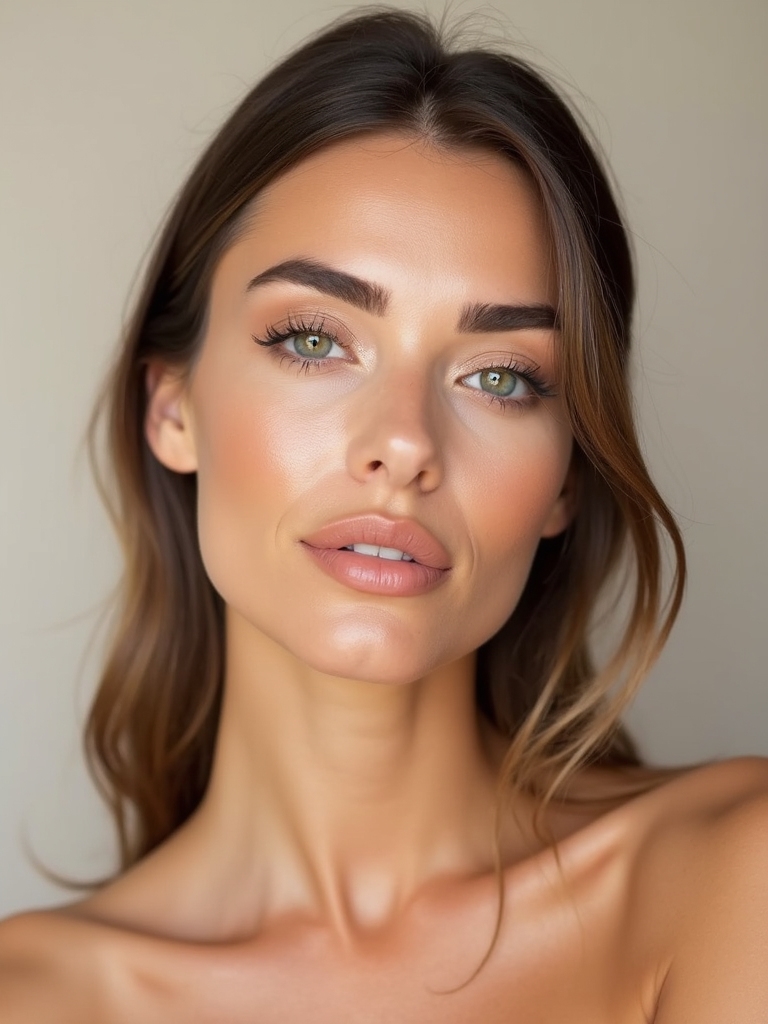
Highlighter is the easy finishing glow, and the only real skill is placement. Putting luminous product on the high points, where light naturally hits, lifts and brightens the face in seconds.
Press a little highlighter on the tops of the cheekbones and the brow bone, the two spots that frame and lift the eye. Skip the forehead and nose tip if you’re prone to shine. A cream highlighter is the most natural and beginner-friendly.
- Highlight the cheekbones and brow bone to lift
- Cream formulas look the most natural
- Skip oily zones, where shine just looks greasy
A Subtle, Natural Overline
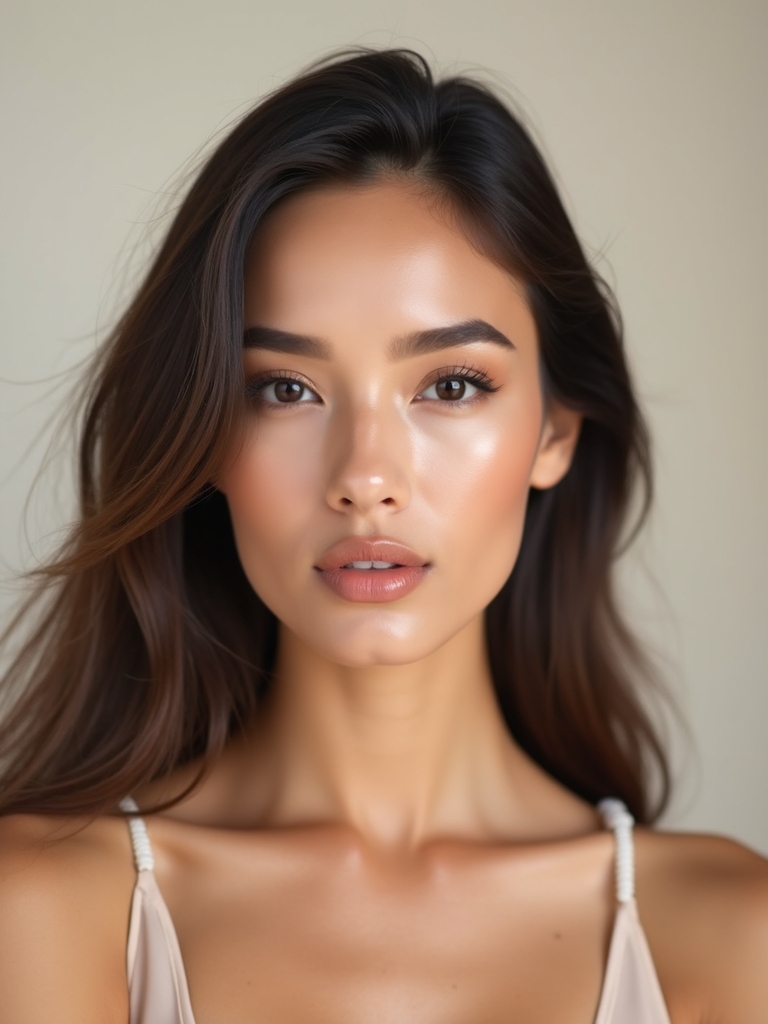
Lips are an easy win once you learn a subtle overline. Lining just a hair outside your natural lip line makes lips look fuller while staying believable, as long as you keep it small.
Use a liner close to your lip or lipstick color, trace just outside the edges, blend it inward so there’s no harsh ring, then fill with lipstick or a stain. Keep the overline tiny, since a beginner who goes too far ends up looking overdrawn. Done softly, it’s a natural-looking fuller lip.
- Line a hair outside your natural lip line, subtly
- Blend the liner inward so there’s no ring
- Keep it tiny to stay natural
Match Undertones for Harmony
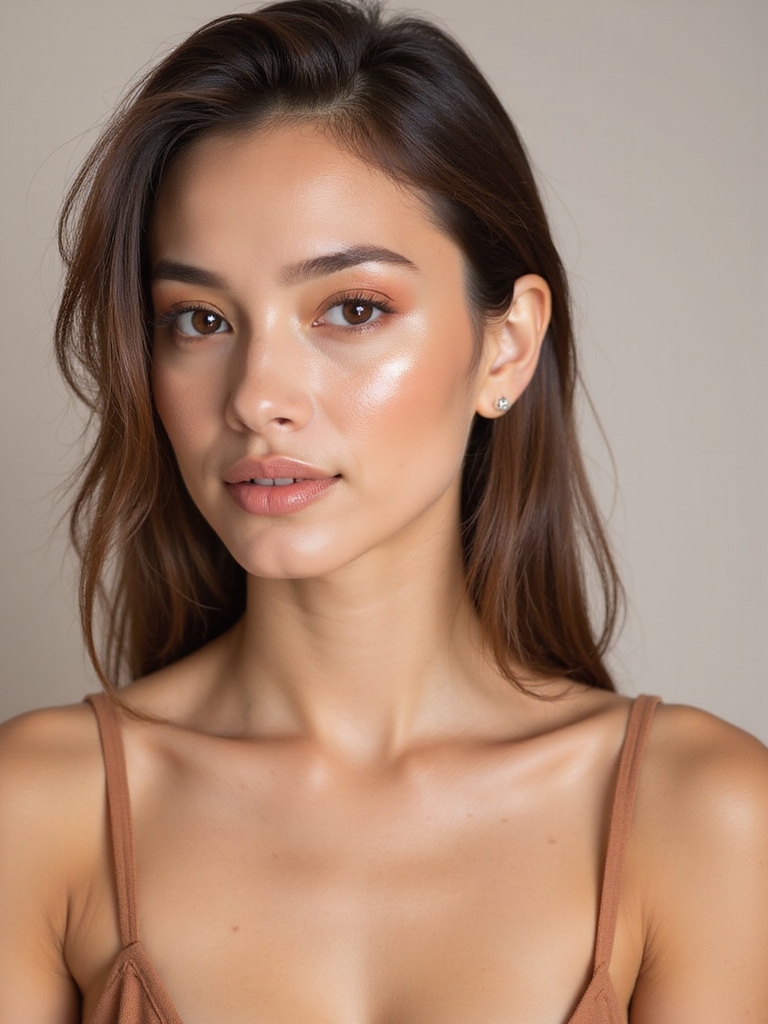
Pulling a look together comes down to undertone harmony, keeping your shades in the same temperature family. Beginners often mix warm and cool by accident, which makes a face look off without an obvious reason.
Keep Your Shades in One Family
If your foundation and bronzer are warm, choose a warm blush and lip too; if you lean cool, keep everything cool. Warm undertones glow in peach, coral, and gold, while cool ones suit rose, berry, and silver.
Matching temperatures is a quiet skill that instantly makes makeup look intentional. On deep skin, rich warm tones like terracotta, bronze, and brick are especially harmonious.
A Quick Five-Minute Face
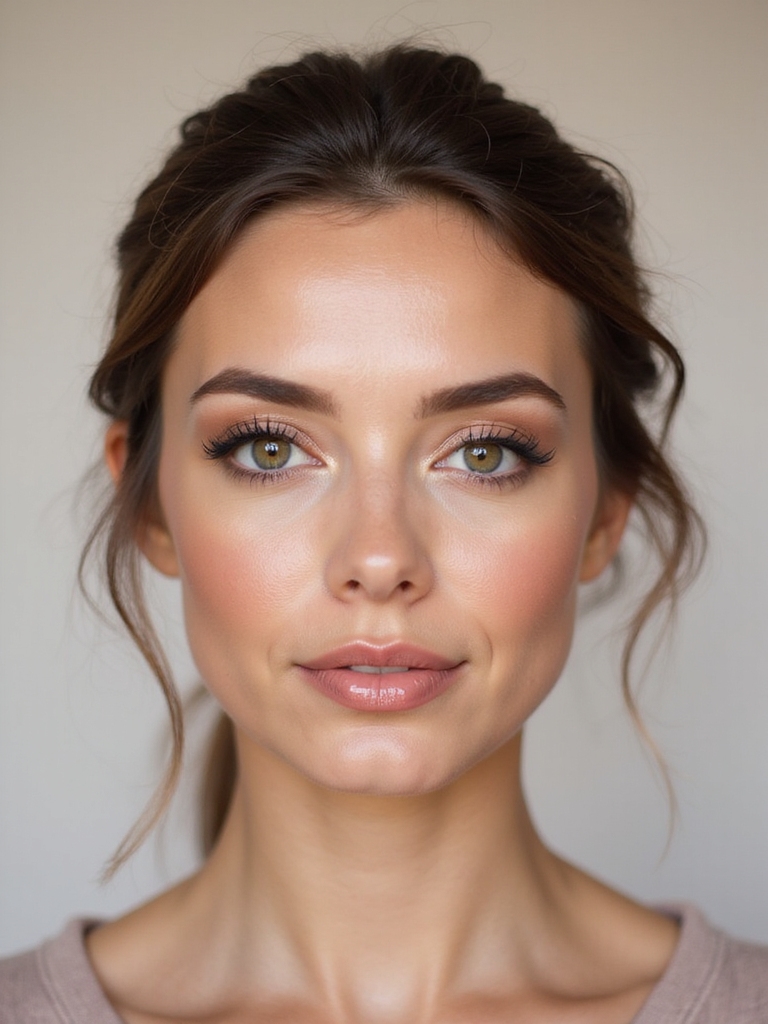
Once you have the basics, a quick natural five-minute face becomes your everyday default. It uses just the steps that matter most: skin, brows, and a touch of color.
The Everyday Default
Press on a tinted moisturizer, conceal under the eyes, brush up the brows, sweep on a cream blush, add mascara, and finish with a lip. That’s a polished face in five minutes flat, the routine you’ll actually keep.
This is where all the techniques come together into something fast and repeatable. For more quick looks built this way, see our everyday makeup looks guide.
Common Beginner Mistakes to Avoid
A few mistakes trip up nearly every beginner. Using too much product is the biggest, since heavy foundation, blush, or powder always looks worse than thin layers. Skipping skin prep comes next, because makeup over dry skin goes patchy no matter how good it is. And the wrong foundation shade, usually an undertone mismatch, undoes everything, so swatch on your jaw in daylight.
Beyond those, forgetting to blend is what makes makeup look amateur, since almost every harsh line just needs a clean brush. And matching your brows too dark ages and hardens the face. Go lighter, blend more, and use less, and you’ll already look more advanced than your experience suggests.
Makeup Tutorial: Quick Answers
?How do I start learning makeup as a beginner?
Begin with skin and brows, the two steps that make the biggest difference, then add one technique at a time: a shadow wash, then liner, then blush. Master a five-minute face before attempting anything advanced. Technique builds fast once you stop rushing.
?What makeup products does a beginner actually need?
A sheer foundation or tinted moisturizer, a concealer, a brow gel, one neutral shadow, a mascara, a blush, and a lip. That’s a complete face. Add tools, a sponge and a fluffy brush, before you expand your color collection.
?Why does my makeup look patchy or heavy?
Almost always too much product and not enough blending. Use thin layers, press product in with a damp sponge, and blend every edge. Patchiness also comes from applying over dry skin, so always prep first.
You Can Learn This
Makeup isn’t a talent some people are born with; it’s a handful of techniques anyone can pick up with a little patience. Start with the basics here, skin, brows, a wash of shadow, a swipe of blush, and build from there one trick at a time.
So try this first: do the five-minute face this week, every single day, until it’s automatic. Once the basics feel easy, every fancier look is just a small step up from skills you already have.
More Hair Inspiration