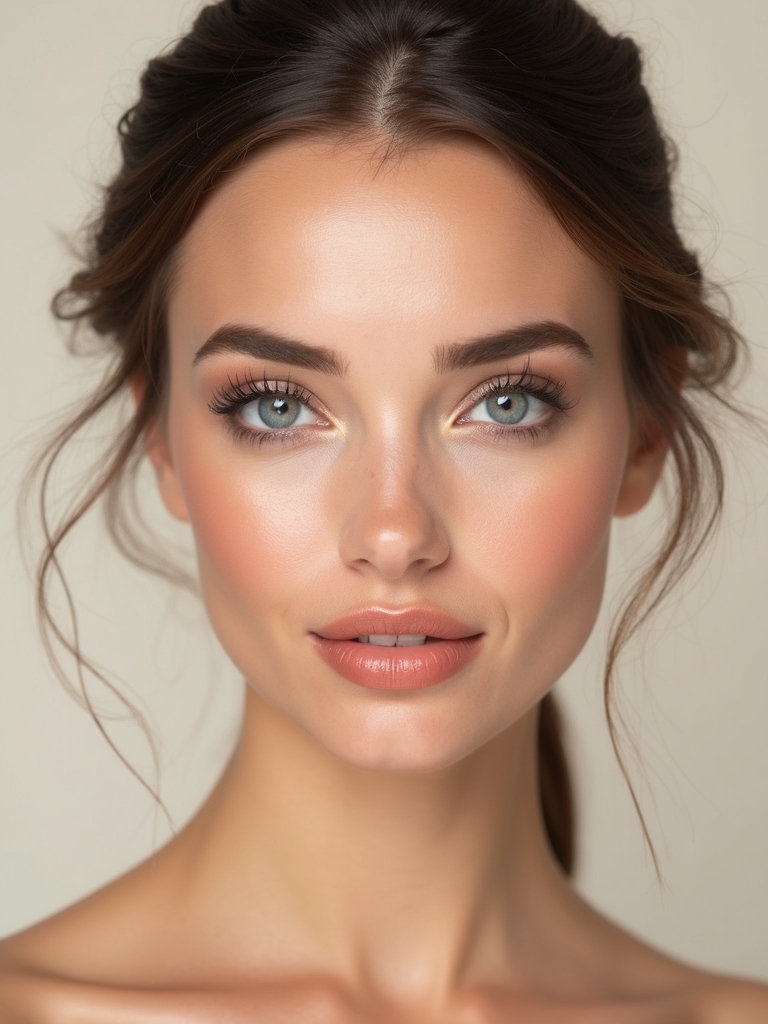
Everyday makeup has one job: to make you look like yourself, rested and put together, in less time than it takes your coffee to brew. The routine I steer most clients toward is short, forgiving, and built on a handful of multitasking products rather than a full kit.
These everyday makeup ideas walk through a fresh, polished face one step at a time, with the timing and the shade notes to match. Take the steps you need and skip the rest; a five-minute version and a ten-minute version both live here.
Your Everyday Face at a Glance
| Step | What it does | Time |
|---|---|---|
| Sheer skin and concealer | Evens tone, brightens | 2 min |
| Cream blush and highlight | Adds life and glow | 1 min |
| Brows and lashes | Frames the face | 2 min |
| Soft eye and lip | Pulls it together | 2 min |
Hydrated, Primed Base
Good everyday makeup starts before any makeup goes on. Prep is everything. Skin that is properly hydrated holds product better and looks fresher all day, so a moisturizer and a minute of patience matter more than any primer.
Once your moisturizer has sunk in, prime only where you need grip, like the T-zone or around the nose. A full face of primer is rarely necessary for a simple look and can feel heavy.
I see people skip this step to save time and then wonder why their makeup slides by noon. Two minutes of prep is the difference between a face that lasts and one that does not.

Sheer, Breathable Skin
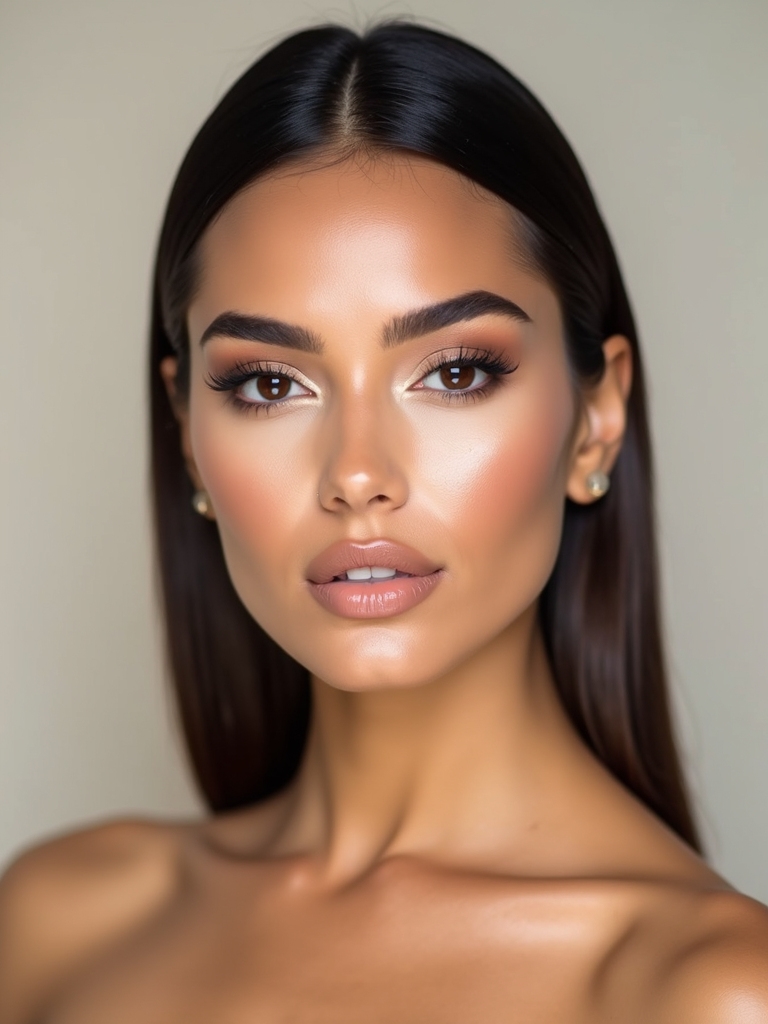
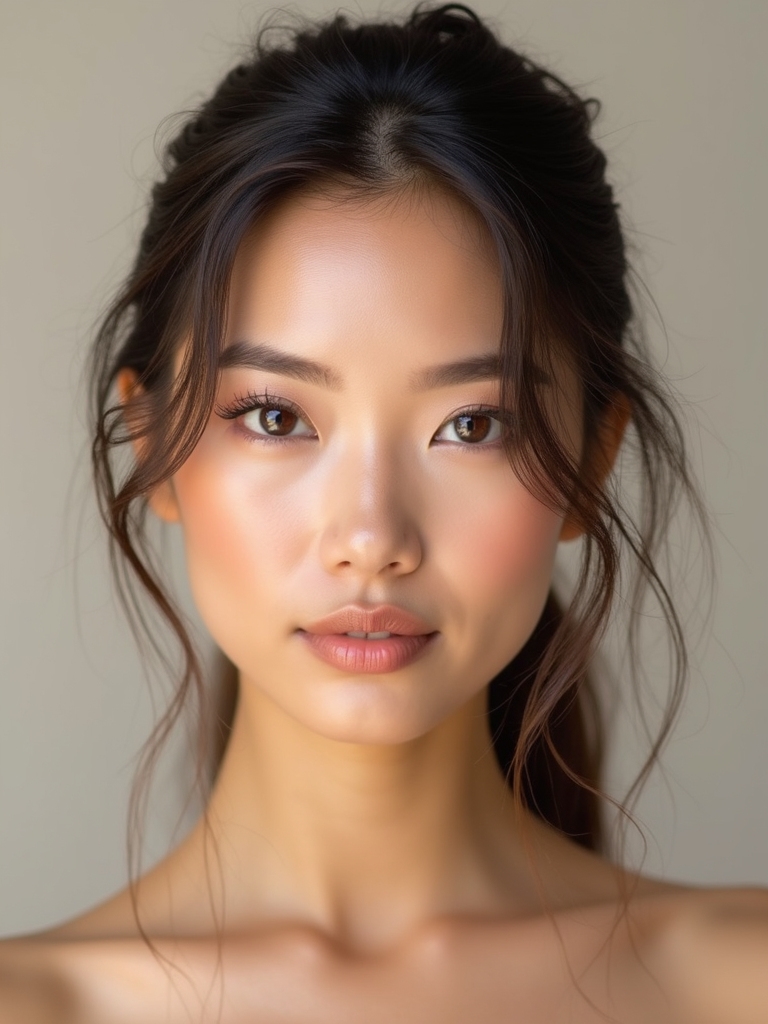
For daytime, a sheer skin tint beats full foundation every time. Skin should look like skin. It evens your tone while letting your real complexion show through, which is what keeps everyday makeup from looking like a mask.
Match it to your jaw and mind your undertone, since the right depth and warmth matter more than coverage.
- Press a tinted moisturizer or skin tint on with a damp sponge.
- Leave the center of the face lightest for a natural finish.
- On deeper skin, look for ranges with true depth and warm or neutral options, not one token dark shade.
Pro tip
Do your skincare and let it absorb while you make coffee or get dressed. Makeup applied over moisturizer that has fully sunk in blends smoother and lasts hours longer than makeup rushed onto damp skin.
Targeted Spot Concealing
Instead of coating the whole face, conceal only where you actually need it. Targeted spot concealing keeps the look light and saves time, brightening the eyes and covering the odd blemish without flattening everything else.
- Dot concealer on redness and the inner under-eye only.
- Tap it in with a fingertip or small sponge to blend.
- Use a shade matched to your skin for blemishes, one shade lighter under the eyes.
- Set under-eye concealer with the lightest dusting of powder so it does not crease.
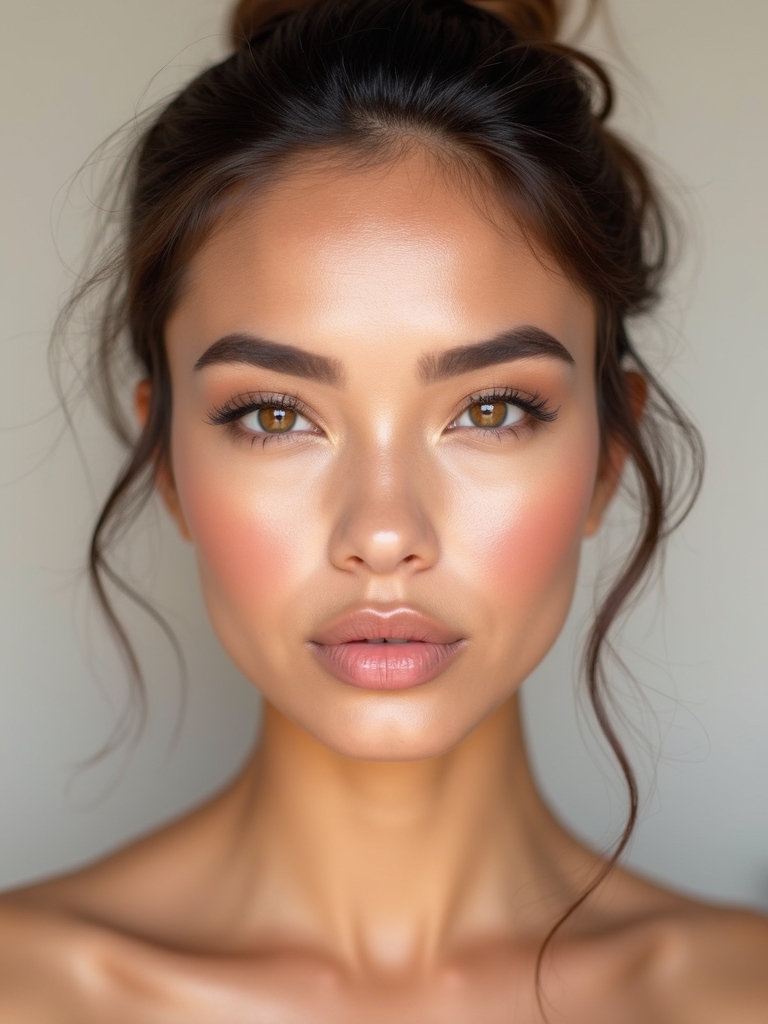
Cream Blush for a Lifted Glow
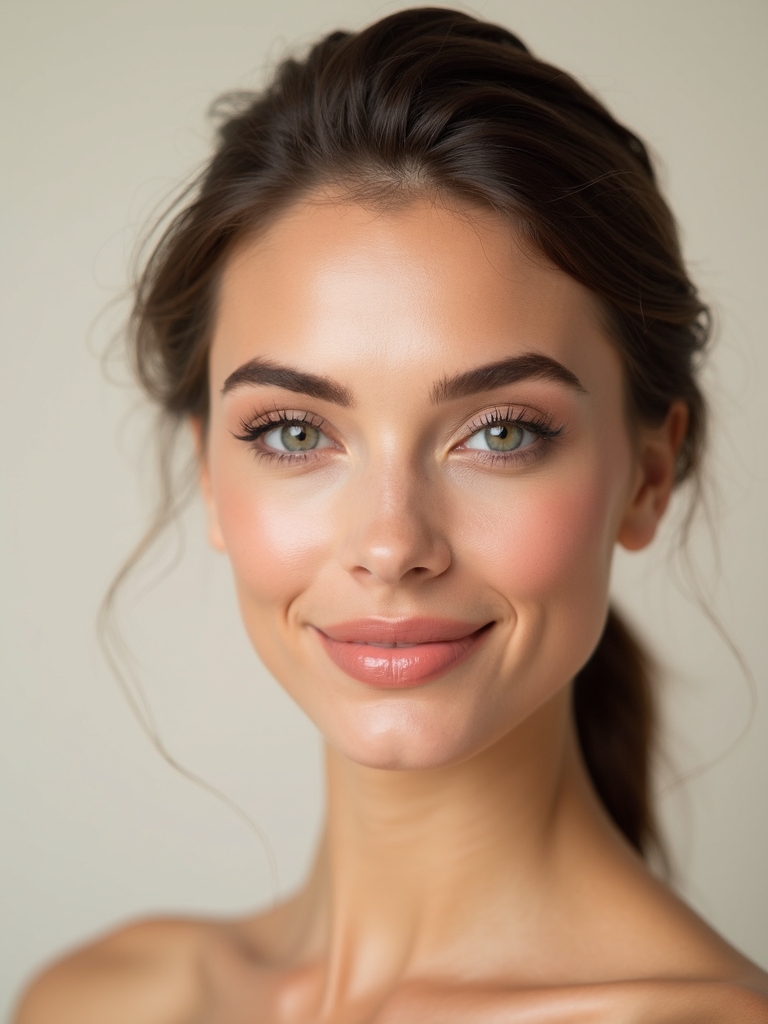
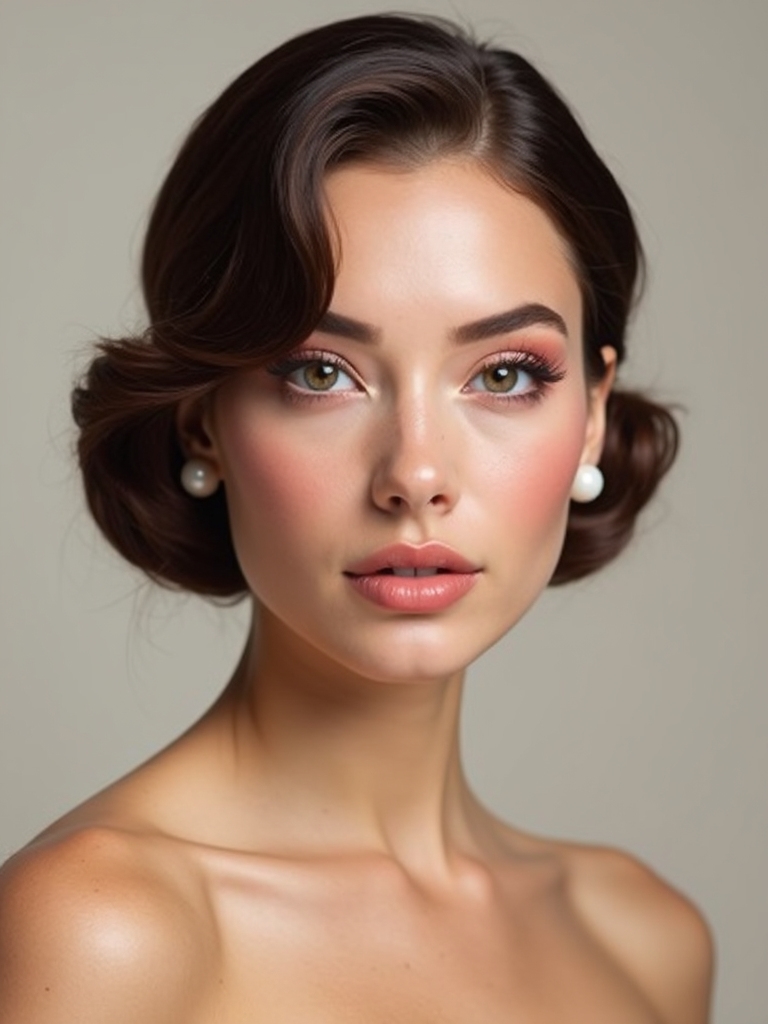
Nothing wakes up a tired face faster than blush, and cream blush is the everyday hero because it melts into skin and takes seconds. Placed high on the cheeks, it lifts the whole face.
Placement That Lifts
Tap it onto the apples and blend up toward the temple with your fingers. Build slowly; a soft wash always looks more natural than a heavy stripe.
A good cream blush runs about $18 to $30 and doubles as a lip tint, which is exactly the kind of multitasking everyday makeup loves. On deeper skin, richer berry and brick tones show up far better than pale pinks.
🅰️Tinted moisturizer
Lightest coverage with built-in skincare; best for clear, normal skin and the fastest routine.
🅱️Skin tint or light foundation
A bit more evening of tone while staying sheer; best if you want a touch more coverage for daytime.
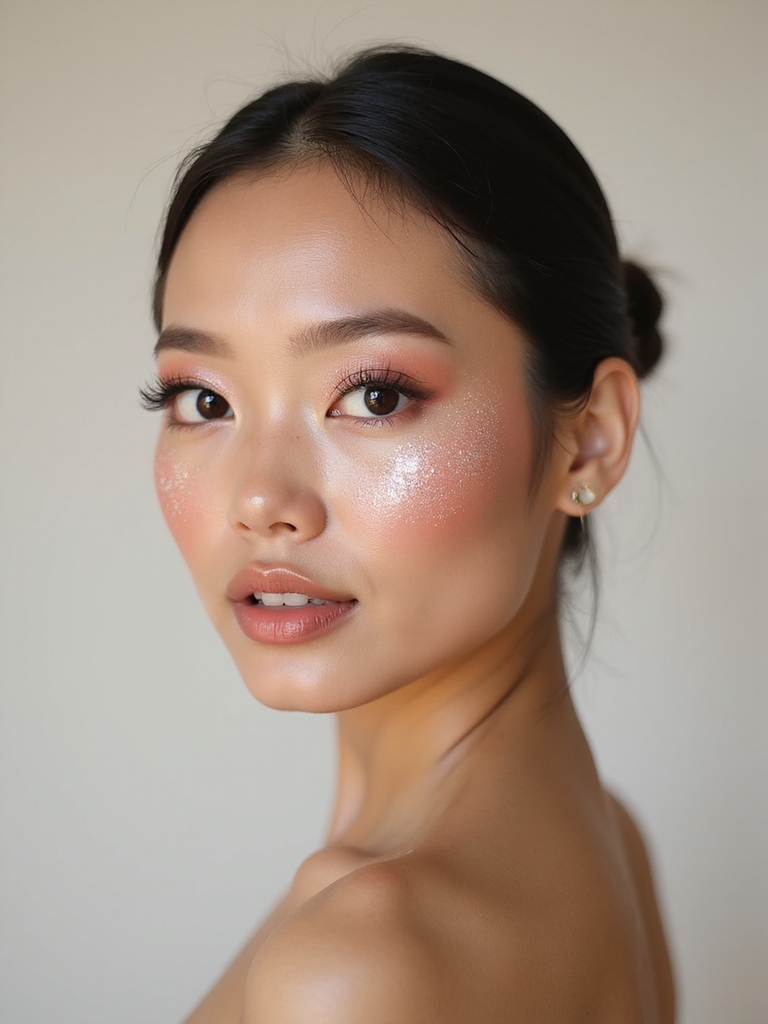
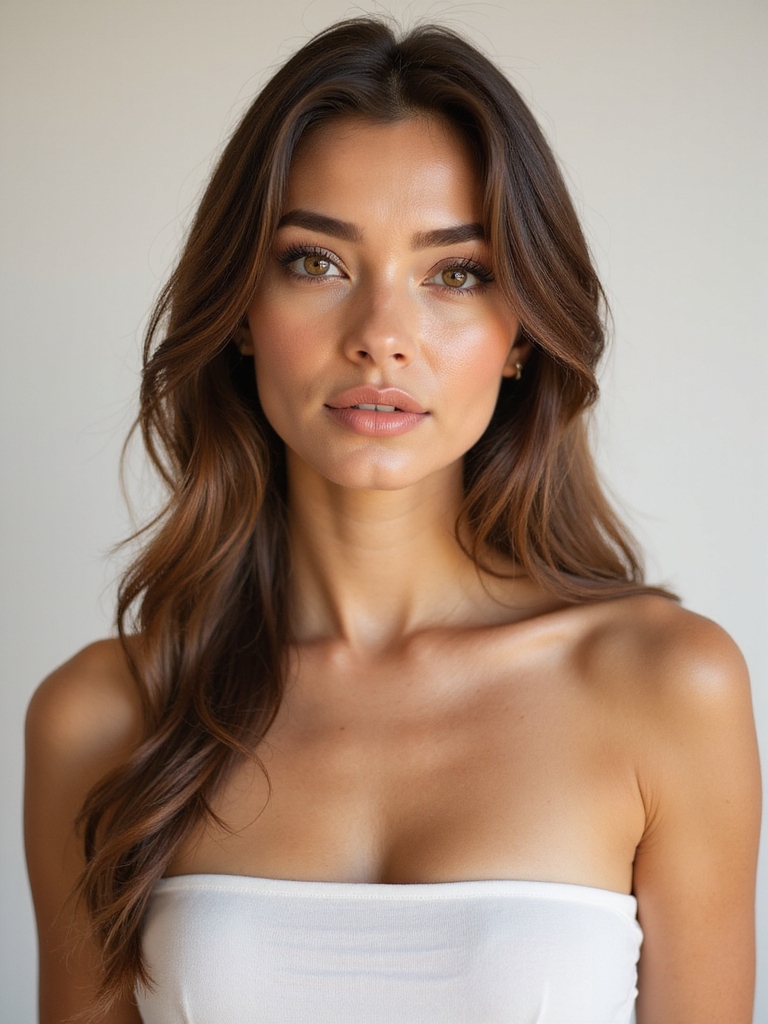
Subtle Luminous Placement
A whisper of highlight on the high points gives everyday skin a healthy, lit quality without any sparkle. The key word is subtle; you want it to look like good skin, not glitter.
Where to Catch the Light
Tap a cream highlight on the tops of the cheekbones, the brow bone, and the inner corners of the eyes. A cream formula blends into skin more naturally than powder for daytime.
Keep it off the areas that get oily, since highlight on the T-zone looks greasy by afternoon. A little goes far. Less product in fewer spots always looks more expensive.
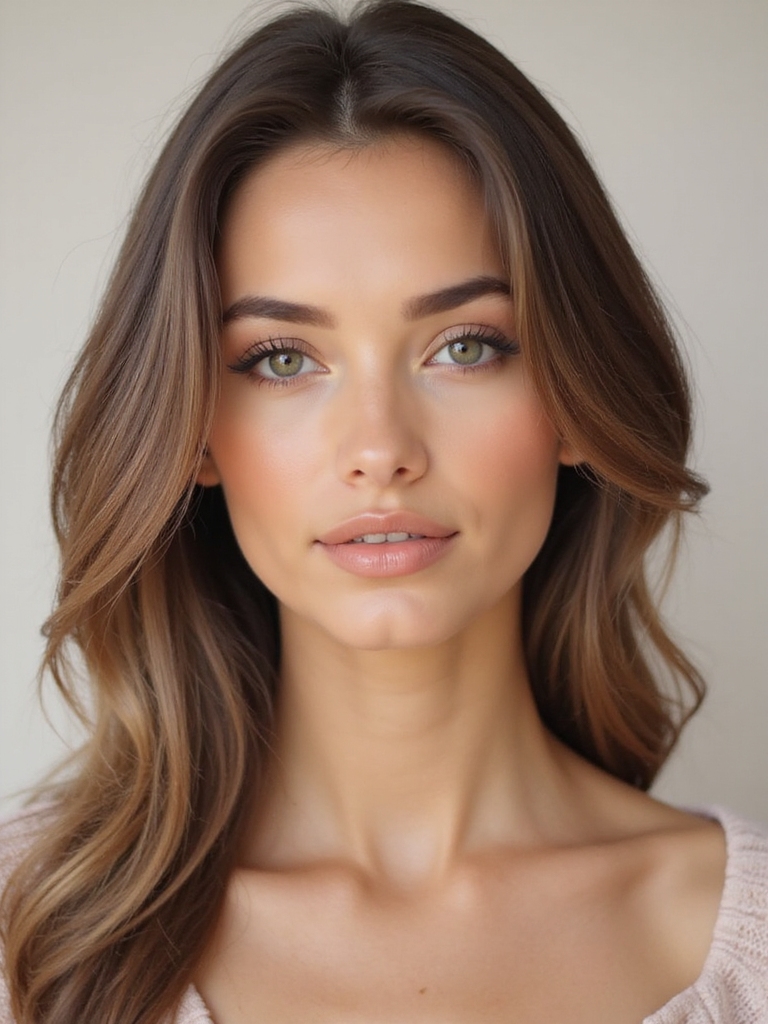
Feathered Natural Brows
Brows frame the whole face, so even a five-minute routine deserves a minute here. The everyday goal is groomed and natural, filling gaps with light, hair-like strokes rather than drawing a hard shape.
Brush the hairs up, then use a fine pencil only where the brow is sparse, and set with a clear or tinted gel so they hold all day. Match the shade to your roots, going a touch lighter if your hair is dark.
Clients always ask how to make brows look fuller without looking drawn on, and the answer is lighter pressure with a sharper pencil. Fluffy and natural beats bold and blocky for daytime every time.
Everyday makeup should make you look like you on a good day, not like someone else entirely. If people notice the makeup before they notice you, it is doing too much.
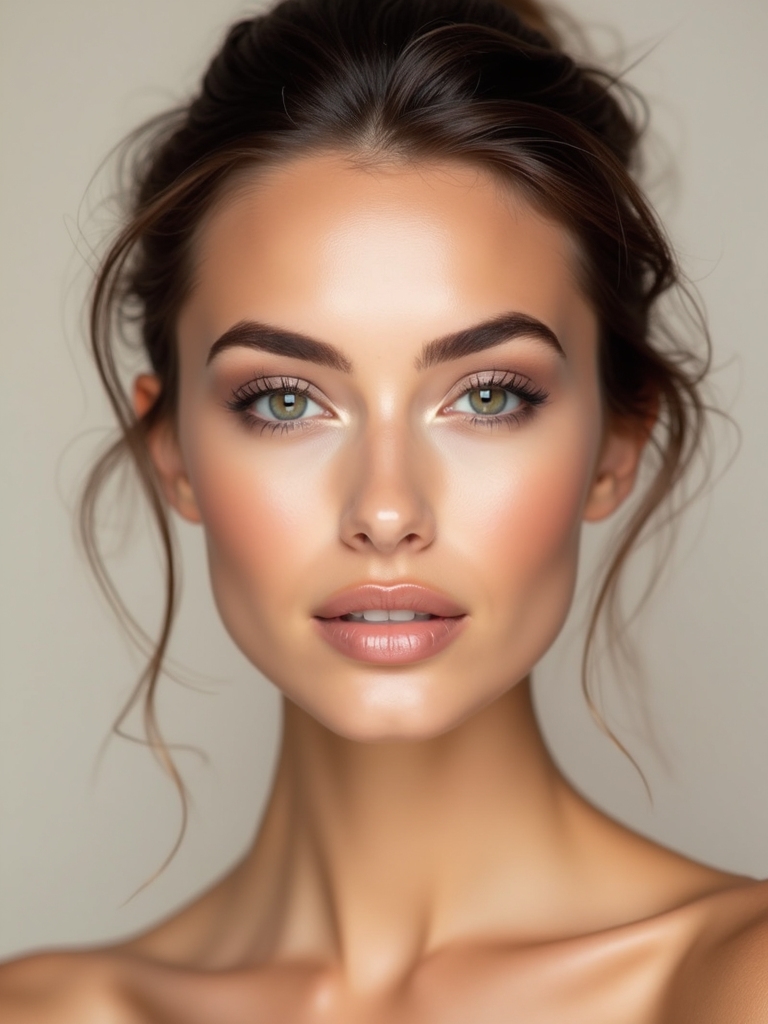
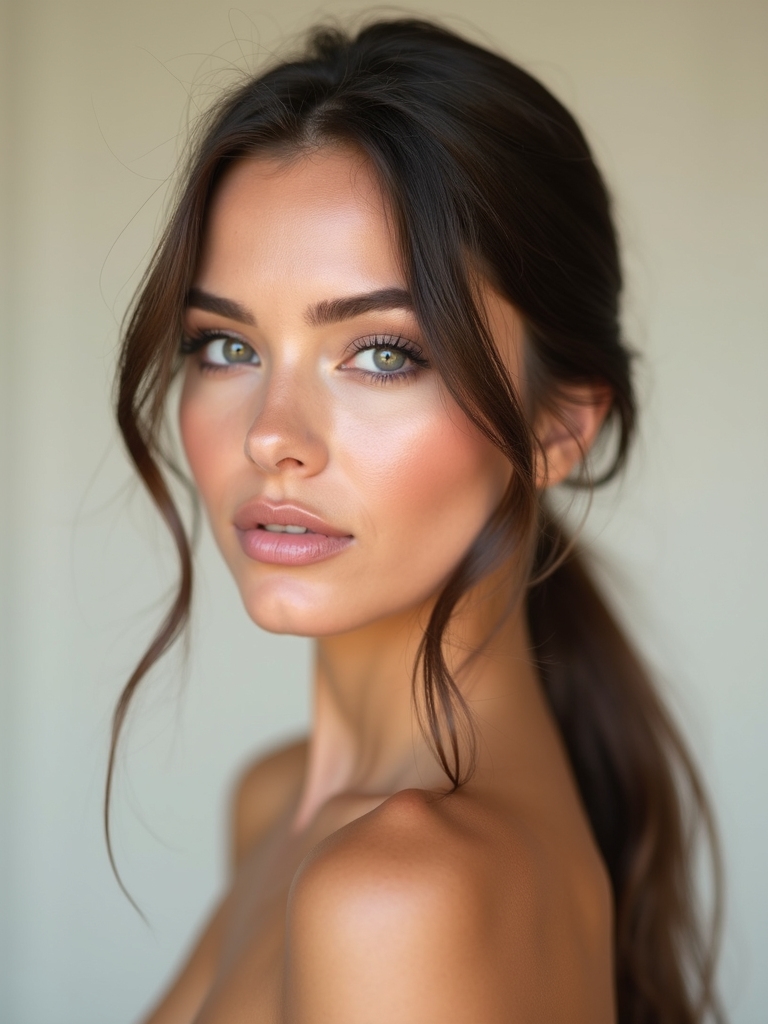
Soft Taupe Polished Eyes
The fastest polished eye is a single wash of taupe across the lid. One swipe does it. That soft definition works with any outfit, which is why a single neutral shadow belongs in every everyday routine no matter how rushed the morning gets.
Blend it just above the crease so there is no hard edge.
- Sweep a satin taupe over the lid with a fluffy brush.
- Blend the top edge softly into the crease.
- Taupe flatters every eye color; choose a warmer bronze-taupe on deeper skin so it shows up.
Upper Tightlining
Tightlining, pressing liner into the upper lash line, makes lashes look denser without any visible line of liner. It is the secret to looking awake without looking made-up.
Why Tightlining Works
Press a creamy waterproof pencil into the roots of the upper lashes, lifting the lid gently to reach the base. A waterproof formula is non-negotiable here, since the area is damp.
This single trick does more for tired eyes than a full eyeshadow look, and it takes about thirty seconds. It is the step I reach for on my own face when I am truly short on time.
How much time do you have this morning?
1Five minutes flat
Skin tint, cream blush, brow gel, one coat of mascara. Done.
2Ten minutes to spare
Add tightlining, a taupe wash, a soft flick, and a tinted lip.
Curl, Coat, Separate
Curled, separated lashes open the eye and pull the whole face together. Order matters here. Curl first, then coat, then separate.
Squeeze the lash curler at the base, the middle, and the tips for a rounded lift, then apply one or two thin coats of mascara from root to tip. Comb through with a clean spoolie while it is still wet.
Skip a heavy second coat on the lower lashes so they stay soft and natural for daytime. One good coat, well combed, looks fresher than three clumpy ones.
Soft Upward Winged Liner
When you want a little more, a soft upward flick at the outer corner lifts the eye without the commitment of a graphic wing. Smudged rather than sharp, it stays appropriate for any day.
Draw a short line along the outer third of the lash line and flick it gently up toward the brow tail, then soften it with a small brush or a smudge of shadow. Keep it close to the lashes so it stays subtle.
This works on most eye shapes, and angling the flick toward the brow tail lifts a downturned eye. For hooded eyes, keep the wing thin and check it with your eyes open.
Creamy Multitasking Products
The real secret to fast everyday makeup is choosing products that do double duty. A creamy multitasker that works on cheeks and lips, or a tinted balm that moisturizes and adds color, cuts your routine in half.
Cream formulas also blend with fingers, so you need fewer brushes.
- Use a cream blush as a lip tint to match your face.
- Try a tinted moisturizer with built-in glow to skip a step.
- Keep a creamy bronzer stick for quick warmth on busy mornings.
Soft Hydrated Color

Finish with a soft, hydrating lip color that adds life without fuss. A tinted balm or a satin nude in a shade close to your own lips is the most foolproof everyday choice, since it never needs a mirror to reapply.
- Choose a shade with a hint of your natural lip tone.
- Reach for satin or balm finishes over drying mattes for daytime.
- Keep one in your bag to refresh after lunch.
Fine Mist Setting
A light setting mist melts everything together so your makeup looks like skin, not layers. Do not skip it. It is the step most people leave out and the one that makes a quick face last through the day.
- Hold the bottle at arm’s length and mist in an X and a T.
- Let it dry naturally rather than touching your face.
- Choose a luminous mist for dry skin, a matte one for oily.
- A quick mist also revives makeup that has gone flat by mid-afternoon.
Pocket Beauty Essentials
A tiny touch-up kit keeps an everyday look fresh from morning to evening. You do not need much; a multitasking few items handle almost any midday slip.
Pack a cream blush stick, a tinted balm, a folding mirror, and a travel setting mist. These four cover cheeks, lips, and a quick refresh, and they fit in the smallest bag without weighing you down.
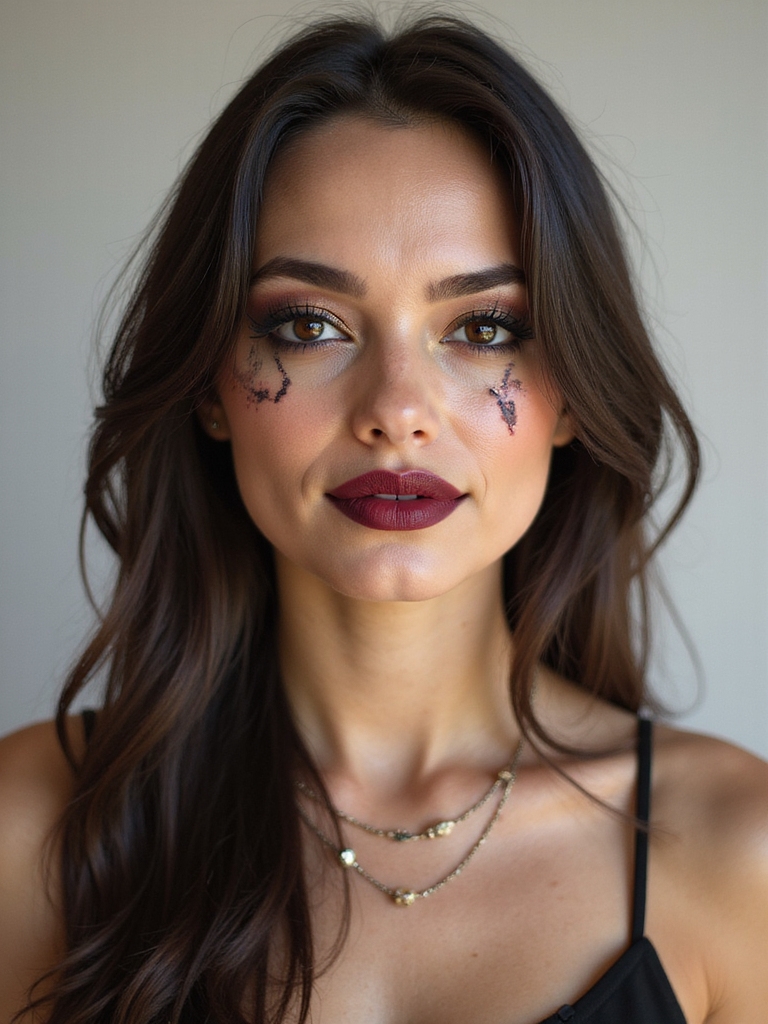
Champagne Shimmer, Berry Tweaks
The beauty of a simple everyday base is how fast it shifts for evening. A press of champagne shimmer on the lids and a glossy berry lip take the same face from desk to dinner in under a minute.
Tap a shimmer over your taupe lid for instant glamour, then swap your nude balm for a deeper berry or red. No need to start over; you are just turning up the same look you already built.
Building Your Everyday Routine
The best everyday routine is the one you will actually do, so start small and add only what you miss. A five-minute version, skin, blush, brows, and mascara, covers most days, and you can layer on tightlining, a soft wing, or a lip when you have a little more time. The whole thing should feel automatic within a week or two of practice.
The most common mistake I see is overdoing the base and underdoing the blush, which leaves the face flat and tired. Keep coverage light and let the color do the work. For more easy looks, see our natural makeup, no-makeup makeup, clean girl makeup, soft glam makeup, and tips for deeper skin tones.
Your Fresh, Fast Face
Everyday makeup is less about products and more about a smart order and a light hand. Hydrated skin, targeted concealer, a cream blush, and groomed brows will carry you through almost any day looking fresh and like yourself.
Build the routine that fits your mornings, lean on a few multitaskers, and practice until it is muscle memory. Once it is automatic, looking polished stops being a chore and starts being five minutes you barely notice.