Close your eyes and picture the inside of a seashell: that pearly, color-shifting iridescence, the soft aqua, the little glints of gold. That’s the whole brief for mermaid makeup. It’s pure fantasy, the look you reach for when an everyday face just won’t do.
Whether it’s for a festival, a costume, a photoshoot, or just a creative afternoon, mermaid makeup is a chance to play with color and shimmer you’d never wear to the office. Here are fifteen ways to wear the ocean on your face, with how to build each one and shades that flatter every skin tone.
The Quick Version
- Mermaid makeup is fantasy makeup: iridescent pigments, aqua, pearl, and glitter for a dreamy ocean look.
- It’s built for festivals, costumes, photoshoots, and creative play, not the daily routine.
- The keys are duochrome and iridescent pigments, an aqua palette, and dewy, wet-look skin.
- Every element adapts to you; aqua and iridescents pop especially hard on deep skin.
Iridescent Pearly Duochrome Eyes

The soul of any mermaid look is an iridescent, pearly duochrome eye, a lid that flips between colors as you move, like light skating across water. It’s the single most magical thing you can wear on your face.
Pat a duochrome pigment, one that shifts from teal to lilac or aqua to pink, over a sticky base with your finger. The finger and the tacky base are what make the color shift land intense. Keep the rest of the eye simple so the lid leads. For more creative looks, see our makeup inspiration guide.
- A duochrome pigment that shifts color as you move
- Pat it on with a finger over a sticky base
- It glows especially bright against deep skin

Seafoam Mint Smoky Glam

A seafoam mint smoky eye trades the usual brown smoke for soft, oceanic greens, a smudgy haze of seafoam and mint that’s dreamy where a classic smoky eye is moody. It’s the gentle, wearable end of mermaid makeup.
Blend a seafoam and a deeper mint along the lash line and into the crease, smudging the edges until the line dissolves, the same technique as a smokey eye in an underwater palette. A touch of shimmer on the center of the lid catches the light.
- A smoky eye built in seafoam and mint instead of brown
- Blend and smudge for a soft, hazy edge
- Add lid shimmer to catch the light
Artist’s tip
Mermaid makeup lives on duochrome and iridescent pigments, the kind that shift color as you move. Press them on over a sticky base or a dab of setting spray with your finger, never a dry brush, so the shimmer stays intense instead of scattering as fallout.
Pearl-Studded Inner Corners

Pearl-studded inner corners are the tiny detail that turns any eye look mermaid, real pearls or a dab of pearly shimmer tucked at the inner eyes. Here’s how to do it:
- Brighten the inner corners with a pearly white or iridescent shimmer
- For drama, glue a few tiny flat-back pearls in a small cluster
- Use a dot of lash glue and tweezers for precise placement
- It opens and brightens the eyes while adding the fantasy touch
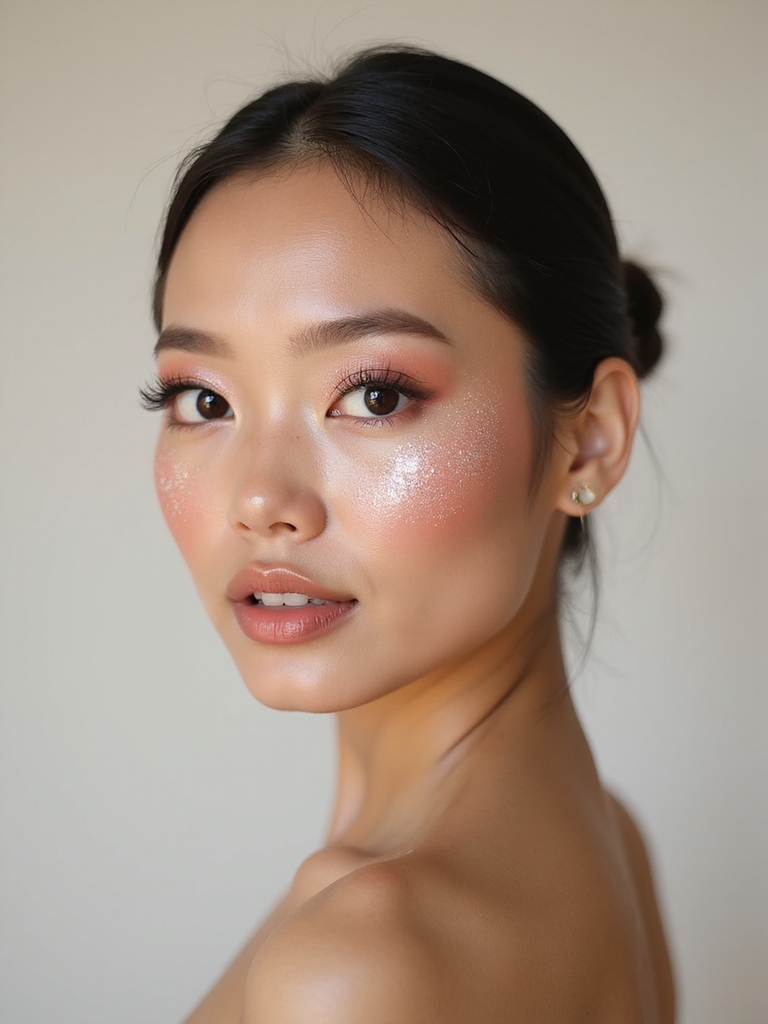
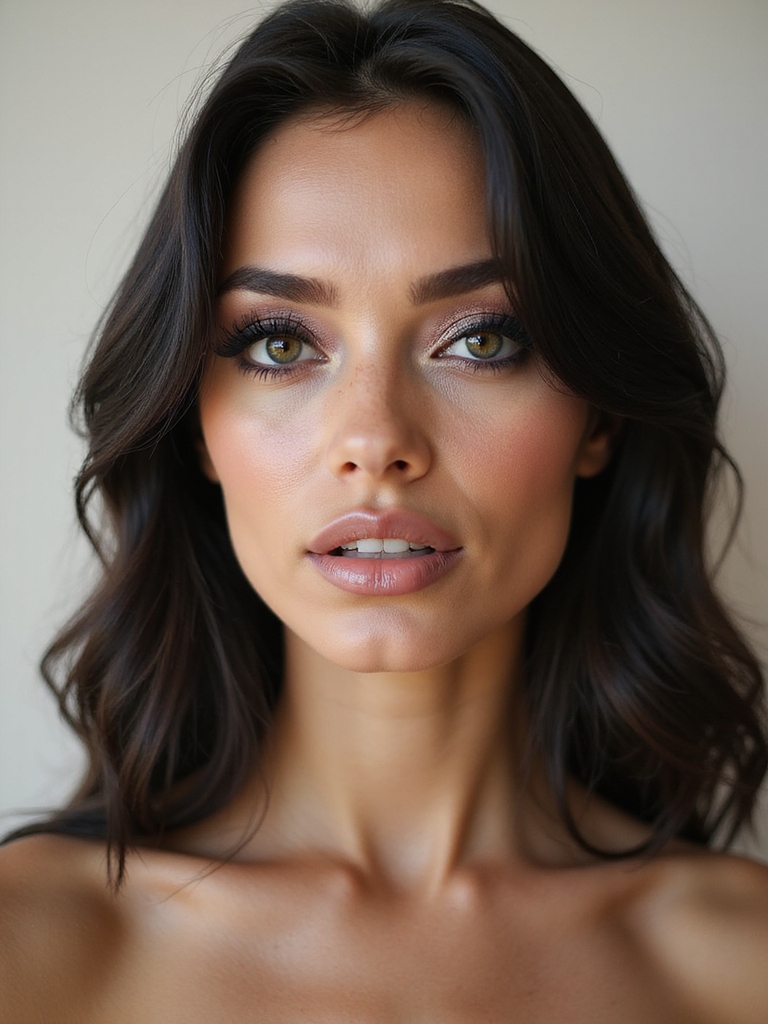
An Iridescent Prism Dewy Sheen

An iridescent prism sheen is mermaid skin at its most ethereal, a wash of fine, prismatic shimmer over dewy skin that makes you glow like the surface of the sea. It’s subtle magic, more glow than color.
Press or mist a fine iridescent powder or highlighter over the high points of the face, the cheekbones, brow bone, and tops of the shoulders. Keep the skin underneath dewy so the shimmer melts in. It looks otherworldly on every complexion, and especially luminous on deep skin where the prism catches warm undertones.
📖Duochrome
A pigment that shifts between two colors as the light hits it, like a fish scale.
📖Halo eye
A bright shimmer in the center of the lid with deeper shades blended into the corners.
📖Iridescent
A pearly, rainbow-shifting finish; the heart of any mermaid look.
Fresh Ocean-Blue Winged Liner

An ocean-blue winged liner is the simplest way to dip a toe into mermaid makeup, a bright blue flick in place of the usual black wing. It’s bold but still graphic and totally wearable.
One Pop of Ocean Color
Use a bright blue or teal gel or liquid liner and draw a clean wing along the upper lash line. Keep the rest of the eye neutral so the blue does all the talking.
Cobalt and teal are especially striking against deep skin and dark eyes. It’s a single pop of ocean color that looks creative without committing to a full fantasy face.
Iridescent Stenciled Cheekbones

Iridescent stenciled cheekbones bring fish-scale magic to the skin, a scalloped, scale-like pattern of iridescent shimmer swept across the cheekbones. This is the look that says mermaid without a single word.
Fish-Scale Shimmer
A stencil, usually fishnet or a scale template, is held against the cheek while you press iridescent pigment over it, leaving a scaled print behind. Lift the stencil straight off for a clean edge.
It’s pure editorial fantasy, perfect for a photoshoot or a costume. The iridescent scales catch the light beautifully on every skin tone, glowing hardest against deep, warm complexions.
📋Mermaid makeup checklist
- ✓Start with primer to grip the pigments and glitter
- ✓Do your eyes before foundation to catch fallout
- ✓Use a sticky base under duochrome and glitter for intensity
- ✓Set the whole look with a strong-hold setting spray
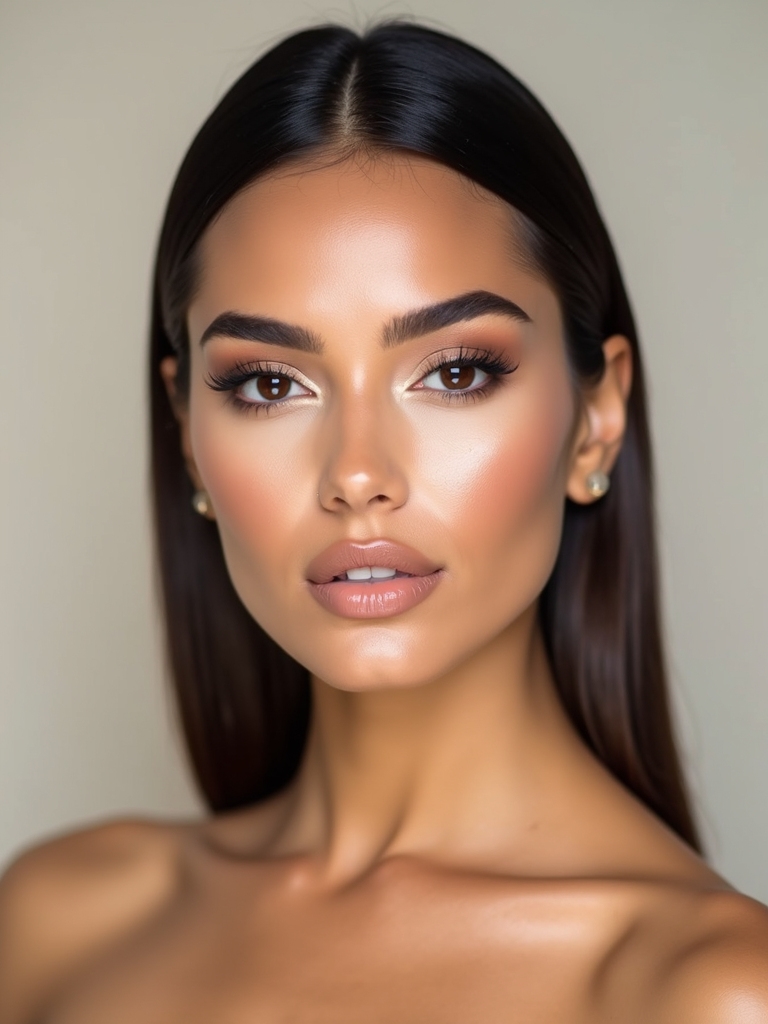
Coral Cream Sun-Kissed Cheeks

Even a fantasy face needs a flush, and coral sun-kissed cheeks add the warmth that grounds all the cool aqua and pearl. A soft coral cream blush keeps the look from going cold under the shimmer.
Sweep a coral cream blush high on the cheeks and blend it up into the iridescent skin. That warm coral against the cool mermaid tones is what makes the look feel alive rather than icy. A deeper coral or terracotta glows on deep skin.
- A coral cream blush warms the cool palette
- Sweep it high and blend into the shimmer
- A deeper coral or terracotta suits deep skin
Iridescent Ombre Glossy Lips

Iridescent ombre glossy lips finish the mermaid look with a wet, color-shifting pout. Here’s how to build them:
- Start with a sheer aqua or lilac lip tint as the base
- Layer an iridescent gloss on top for the wet, shifting shine
- Build the ombre darker at the edges, lighter in the center
- The glossy, pearly finish is the whole point, so reapply often
1Soft and dreamy
Pearl freckles, salt-kissed skin, and an iridescent sheen keep it ethereal.
2Bold and editorial
Sculpted fins, glitter tear streaks, and a teal carved crease bring the drama.
A Teal-to-Turquoise Carved Crease

A teal-to-turquoise carved crease is the bold, editorial mermaid eye, a sharp, defined crease in shifting ocean blues. Carving means cutting a clean line above the crease with concealer, then packing color into it for a crisp edge.
Build from a deep teal at the outer corner to a bright turquoise toward the inner, blending the two where they meet so they melt like seawater. It’s precise and dramatic, best saved for a photo or an event, and the bright blues pop hardest against deep skin.
A Sunlit Gold-Aqua Halo

A sunlit gold-aqua halo pairs two of the ocean’s prettiest colors, warm gold and cool aqua, in a glowing halo eye. A halo, a bright center fading to deeper corners, makes the eye look round and luminous.
Warm Gold Meets Cool Aqua
Wash aqua across the lid, then press a sunlit gold shimmer into the center for the halo effect. The warm gold against the cool aqua is unexpected and beautiful.
It’s softer than a carved crease but still full of fantasy, and it flatters every eye shape. The gold especially glows against deep, warm complexions.
Duochrome Sculpted Mermaid Fins

Duochrome sculpted mermaid fins are full-on fantasy art, fin-shaped or scaled forms painted onto the temples or cheeks in shifting duochrome pigment, like fins rising up out of the skin. It’s the most editorial, costume-ready look here, the kind you’d wear to a themed party or a fantasy shoot.
A steady hand paints the fin shapes with a fine brush and builds the duochrome over a sticky base so it shifts in the light. For another bold, character-driven look, see our queen of hearts makeup guide. Save it for an occasion, since it takes time, but the payoff is showstopping.
- Painted fin or scale shapes in shifting duochrome
- Full fantasy, built for costumes and photoshoots
- Layer it over a sticky base for the most color shift
Salt-Kissed Dewy Skin

Salt-kissed dewy skin is the base every mermaid look is built on, skin that looks fresh out of the sea: dewy, luminous, and a little flushed. It’s the opposite of a matte, heavily powdered face.
Use a dewy skin tint, a liquid highlighter on the high points, and a dewy setting spray to lock the glow in. Skip heavy powder. That wet, just-emerged finish is what sells the fantasy, and a satin tint keeps deep skin from looking flat or chalky.
- Dewy, luminous skin instead of matte and heavy
- A liquid highlighter and dewy setting spray seal the glow
- A satin tint keeps deep skin from looking flat
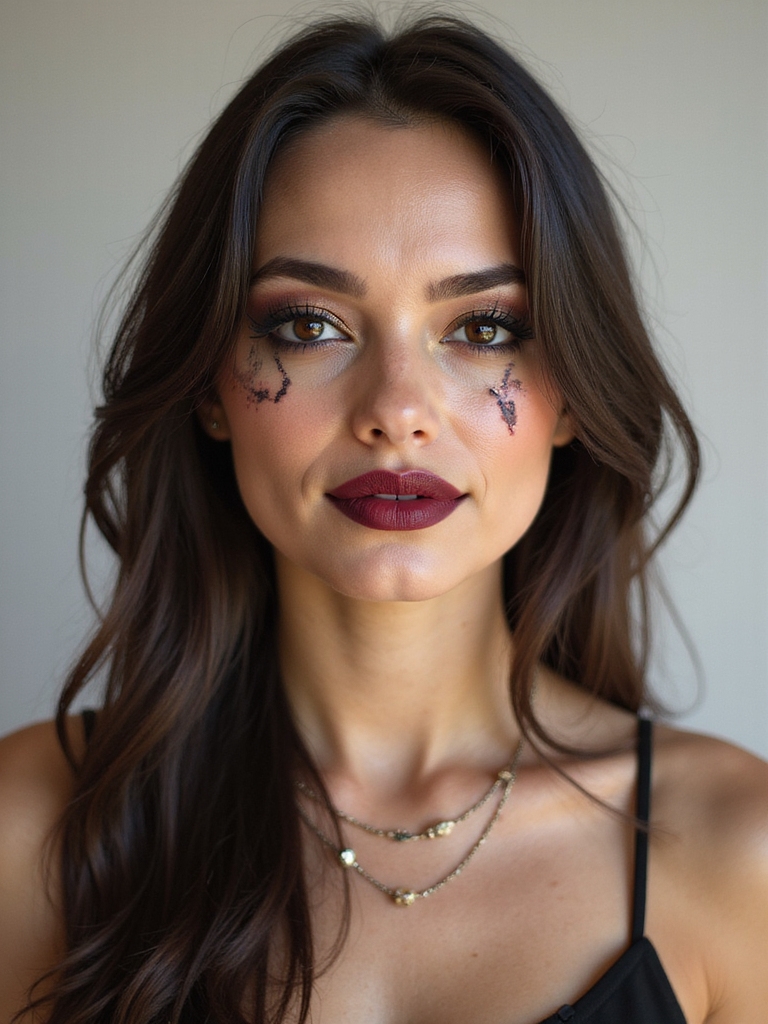
Ocean-Blue Glitter Tear Streaks

Ocean-blue glitter tear streaks are the dramatic, editorial touch that looks like sea-spray frozen on the skin, fine blue glitter streaked down from the inner eyes like glistening tears. It’s pure fantasy theater.
Press fine cosmetic glitter in ocean blue along the lower inner eye and down the cheek over a sticky base. Use cosmetic-grade glitter only near the eyes, never craft glitter, which can scratch. It’s a striking look for a photo or the stage, especially against deep skin where the blue really glows.
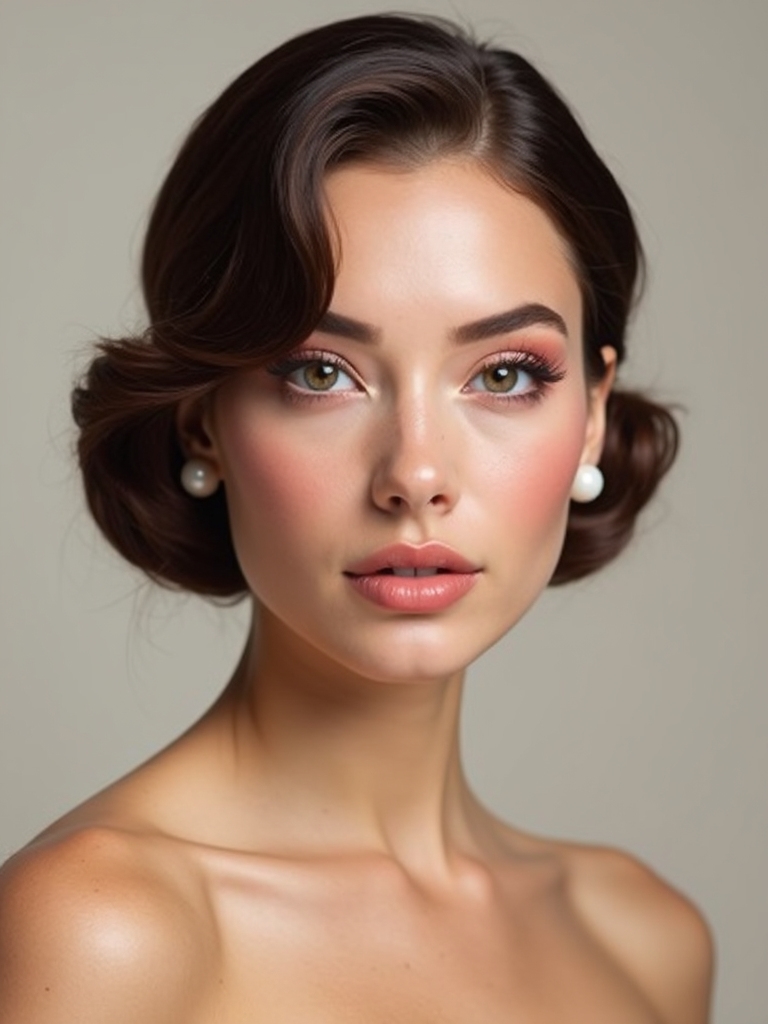
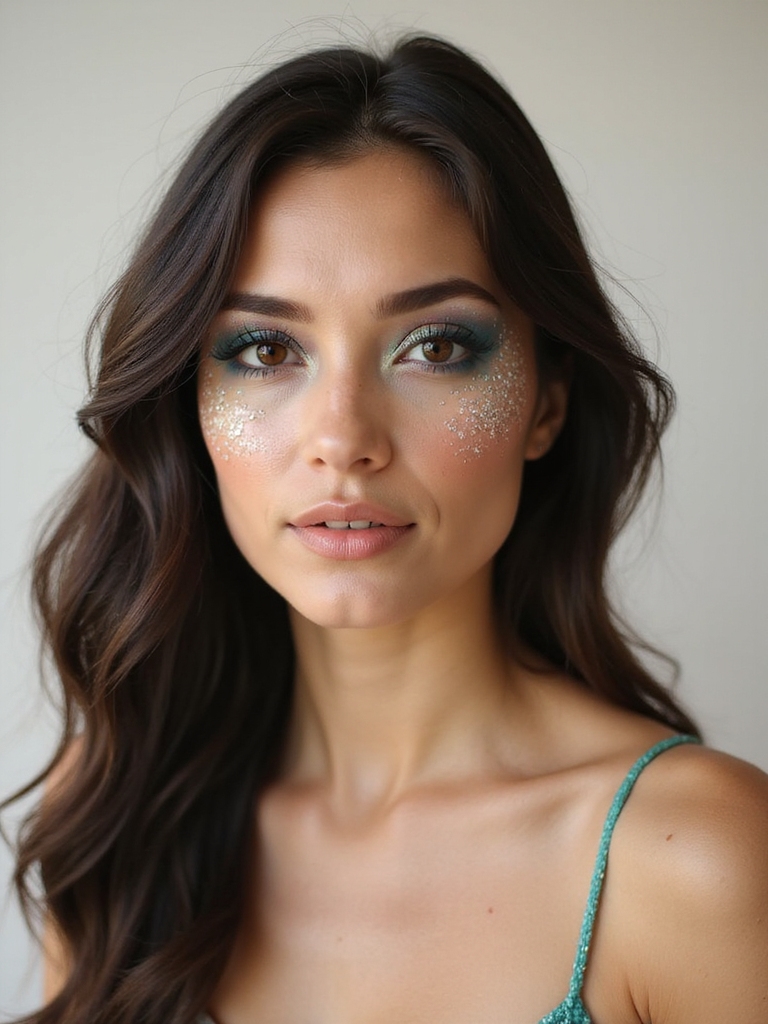
Misty Pastel Pearl Freckles

Misty pastel pearl freckles are the soft, whimsical detail that makes a mermaid look approachable, tiny pearly freckles in soft pastels scattered across the nose and cheeks. They feel sweet and innocent, the gentlest detail in the whole repertoire.
Dot them on with a fine brush in pearl, soft pink, lilac, or mint, then blur them slightly so they look misty. They add a dreamy, fairytale touch to a softer mermaid face, and the pearl shimmer flatters every skin tone.
- Pearly pastel freckles scattered over the nose
- Blur them slightly for a soft, misty look
- Sweet and whimsical, flatters every tone
Whipped White Foamy Lashes

Whipped white foamy lashes are the final fantasy flourish, lashes coated in white or pale iridescent mascara so they look like sea foam clinging to the eyes. It’s an unexpected, editorial finish that frames the whole look.
Coat curled lashes in a white or pearly mascara, building them full and feathery for that foam effect. It’s bold and best for a costume or shoot, and the white pops dramatically against every skin tone, especially deep complexions and dark eyes.
Styling Tips for Mermaid Makeup
A few practical notes so your mermaid look lasts and behaves. Primer and a sticky base are essential, since duochrome pigments, glitter, and iridescents need something to grip or they crease and slide. Always do your eyes before your foundation, so any fallout, and there will be fallout, wipes away clean.
Use only cosmetic-grade glitter and pigment near the eyes, and lock the whole look with a strong-hold setting spray so it survives a party or a long shoot. For more creative, trend-driven looks to play with, see our makeup ideas and makeup inspo guides.
Mermaid Makeup: Quick Answers
?What products do I need for mermaid makeup?
The essentials are duochrome and iridescent pigments, an aqua-and-pearl palette, fine cosmetic glitter, a sticky base or setting spray, and a primer. A dewy skin tint and a white or pearl mascara complete the fantasy. Most go on with a finger, so you need fewer brushes than you’d think.
?Is mermaid makeup hard to do?
The soft versions, pearl freckles, an iridescent sheen, salt-kissed skin, are beginner-friendly and use mostly fingers. The bold ones, carved creases, painted fins, glitter streaks, take more skill and patience. Start soft and build up; it’s fantasy, so there’s no wrong answer, just a wet wipe and another try.
?Does mermaid makeup work on deep skin tones?
Beautifully. Aqua, teal, iridescent, and gold tones pop especially hard against deep, melanin-rich skin, often more dramatically than on fair skin. Choose pigments with strong payoff, press them over a sticky base, and the whole ocean palette glows.
Wear a Little of the Ocean
Mermaid makeup is permission to be unserious, to play with color and shimmer the way you did with face paint as a kid, only with better products. There’s no rule that makeup has to be practical, and a face full of iridescent ocean color is the happy proof.
So if you’ve got a festival, a costume, or just a free afternoon, pick one of these, a soft pearl sheen or a full set of fins, and give it a go. Worst case, it’s a wet wipe. Best case, you feel a little magical for a day.