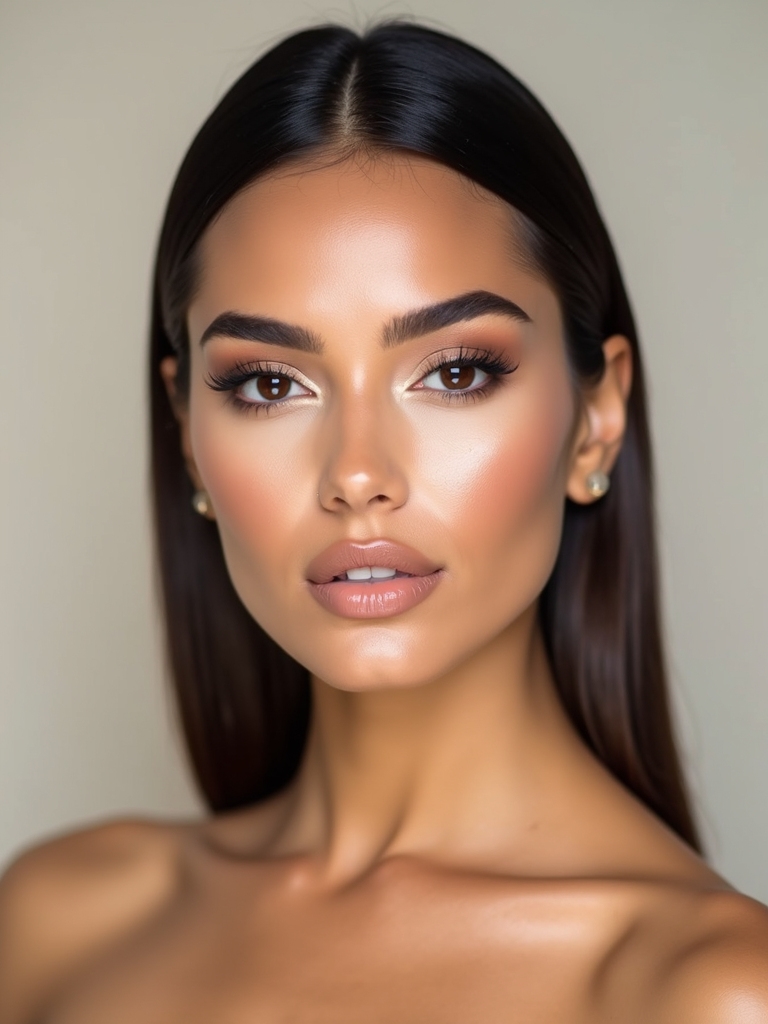
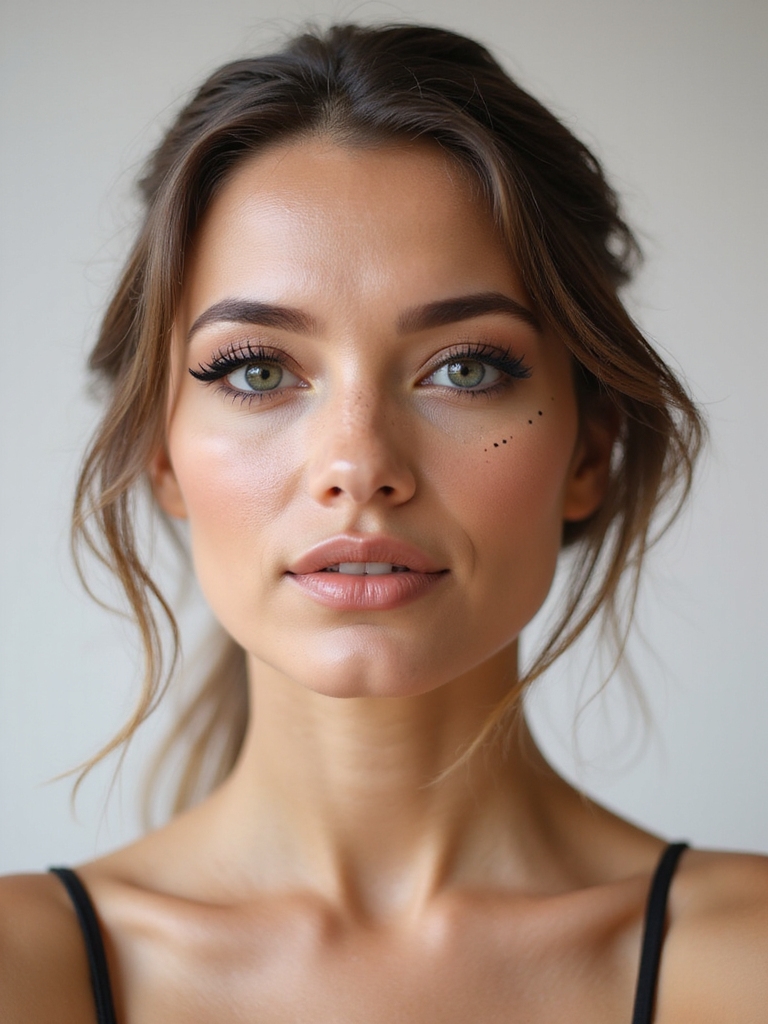
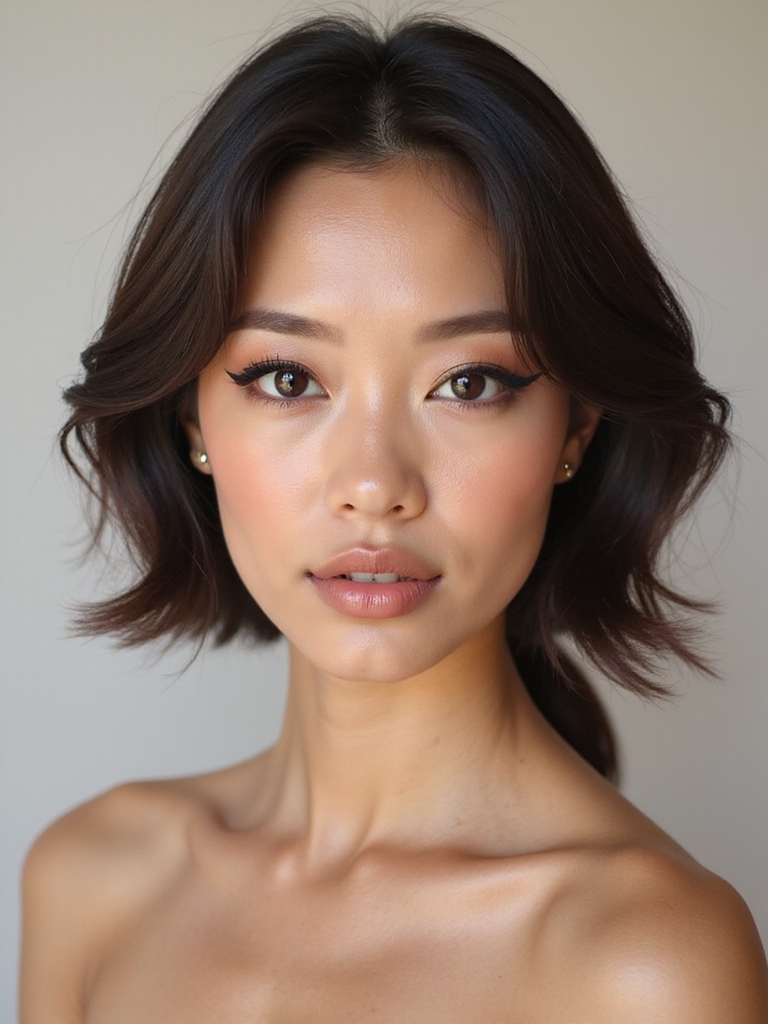
A cat eye is the one makeup look that can lift your whole face in under a minute, and the one most people give up on after a wobbly first try. The gap between the two is not talent. It is a handful of small mechanical habits that nobody tells you when you are starting out.
These fifteen tricks cover the whole process: how to map the angle so both eyes match, which formula to reach for, and how to adjust the wing for hooded and monolid eyes so it actually shows when your eye is open. Save this one and work through it a trick at a time.
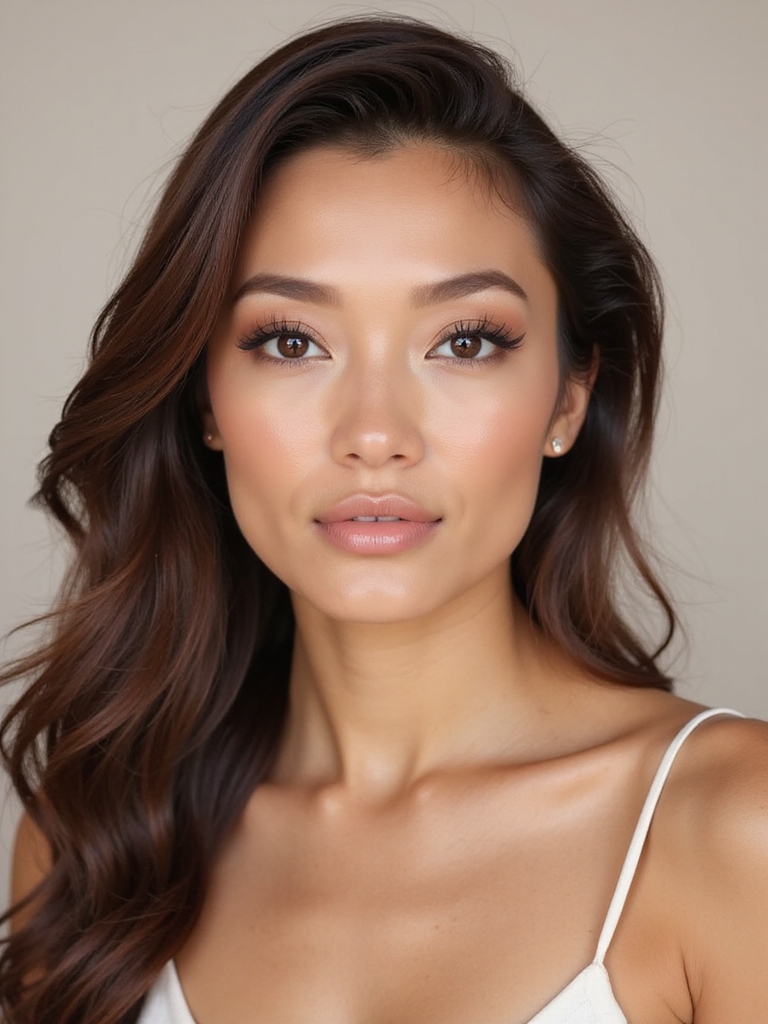
Cat Eye Quick Answers
Why does my wing look uneven? Almost always the angle, not the hand. Line up both wings with your lower lash line and map them with dots before you draw.
What liner is easiest for beginners? A felt-tip pen for control, or a gel pot with a brush for flexibility. Skip slippery liquids until your hand is steadier.
My wing disappears when I open my eyes, why? You have hooded or monolid lids. Draw the wing with your eye open and float it slightly above the crease so it stays visible.
Map Your Wing With a Dot-to-Dot Guide
The single biggest fix for a shaky cat eye is to stop freehanding it. Before any liner touches your lid, place three small dots: one where the wing should end, one at the peak of the flick, and one where the line meets your lash line. Then you are just connecting dots, not drawing blind.
Clients ask me about uneven wings more than anything else, and this dot trick is the first thing I tell every beginner. It takes the pressure off your hand. Your eye only follows a map you already drew.
- Dot one: the wing tip, angled up toward the end of your brow.
- Dot two: the top of the flick, where the line will peak.
- Dot three: where the wing connects back into your lash line.
Follow Your Lower Lash Line
The angle of your wing should not be guessed; your face already tells you where it goes. Imagine a line extending straight out from your lower lash line toward your brow, and let your wing trace that exact path upward.
Following this natural angle is what makes a cat eye look like it belongs on your face rather than stuck on. It also keeps both wings consistent, since both eyes share the same built-in blueprint.
- Picture your lower lash line continuing past the outer corner.
- Aim the wing tip along that line, toward the tail of your brow.
- Steeper angles read dramatic; flatter angles read soft and everyday.
A couple of terms that come up a lot:
📖Tightlining
Pressing liner into the upper waterline at the lash roots for an invisible definition
📖Wing
The flicked-up extension of liner past the outer corner that creates the lift
Start Thin and Build Gradually
The fastest way to a clumpy, crooked wing is going in thick on the first pass. Lay down a thin guideline first, then build the thickness in layers once the shape is right. Thin lines are easy to fix. Thick mistakes are not.
- Draw a hairline-thin version of the whole wing first.
- Check the shape and angle before you add any weight.
- Thicken the line gradually from the outer corner inward.
Anchor Your Elbow, Use Tiny Strokes
A wobbly line is usually a wobbly arm, not a wobbly hand. Rest your elbow on a solid surface like a table or vanity before you start, so your whole arm is stable and not floating in midair.
Build the Line in Small Dashes
From there, build the line in short, controlled strokes. Forget the single long sweep. A series of tiny connected dashes gives you far more control than trying to glide across the lid in one nervous motion.
Resting your pinky against your cheek adds a second anchor point. The steadier your hand, the cleaner the line, and almost nobody can draw a smooth wing with their arm hovering.
Heads-Up
Keep liner out of your lower waterline if you want eyes to look bigger; lining there closes the eye up. Save the waterline for tightlining the upper lash roots instead.
Choose the Right Formula
Half the battle is the tool in your hand, and the right formula depends on your skill and your lid. A felt-tip pen, usually $8 to $20, gives the most control for beginners because it works like a marker, so grab one first if you are nervous.
A gel liner with a brush is the most flexible and the most forgiving to reshape, which is why it is what I keep at my station for clients. Liquid liners with a thin brush give the sharpest line but punish any shake.
If your lids run oily, lean toward a waterproof gel or felt tip, since slick lids smear a soft pencil within the hour. Match the tool to your lid and the look gets easier overnight.
Tightline to Lift the Eyes

Tightlining means pressing liner into the upper waterline, right at the base of your lashes. It defines the eye and makes your lashes look thicker while leaving the lid clean. The whole eye just looks sharper.
It is the quiet step that makes the whole look intentional. Even on a no-wing day, it lifts and opens the eye. Mascara alone cannot do that.
- Use a waterproof pencil or gel so it survives the waterline.
- Lift your lid gently and press color into the lash roots.
- Pair it with a wing for depth, or wear it alone for a subtle lift.
Pick your liner by how steady your hand is:
🎯Still learning
A felt-tip pen or a powder-then-trace method for full control
🎯Confident
A liquid liner with a fine brush for the sharpest, boldest wing
Sketch With Shadow, Then Lock It In

If liquid liner terrifies you, sketch the wing in soft matte shadow first using an angled brush. Powder wipes away cleanly, so you can shape and reshape the wing with zero stress until it is exactly right, then trace over it with liquid to lock it in.
- Map the wing shape with a dark matte shadow and an angled brush.
- Adjust freely until both wings match; powder forgives everything.
- Trace over the powder guide with liquid or gel to set the final line.
Use Tape for a Crisp Edge
When you want a razor-sharp edge and your freehand is not there yet, a piece of tape is the oldest trick in the book for a reason. It gives you a straight edge to flick against, so the bottom line of your wing comes out clean every time.
- Press a small strip of tape against your skin first to dull the stickiness.
- Angle it from the outer corner toward your brow tail as a guide.
- Draw the wing, then peel the tape away slowly to reveal a sharp edge.
🅰️Gel liner
Flexible, forgiving, and easy to reshape with a brush
🅱️Liquid liner
Sharpest line possible, but unforgiving of any hand shake
Balance Both Eyes With the Mirror Flip

Matching wings is the hardest part, and the cheat is to check your work the way other people see you. Once both wings are drawn, hold a hand mirror up and look at your reflection in a second mirror, or snap a quick photo and flip it. Asymmetry that your eye glossed over jumps out instantly.
- Draw both wings, then view your face flipped in a photo or second mirror.
- Fix the weaker wing to match the stronger one, not the reverse.
- Draw your wings sitting at eye level, never looking down into a flat mirror.
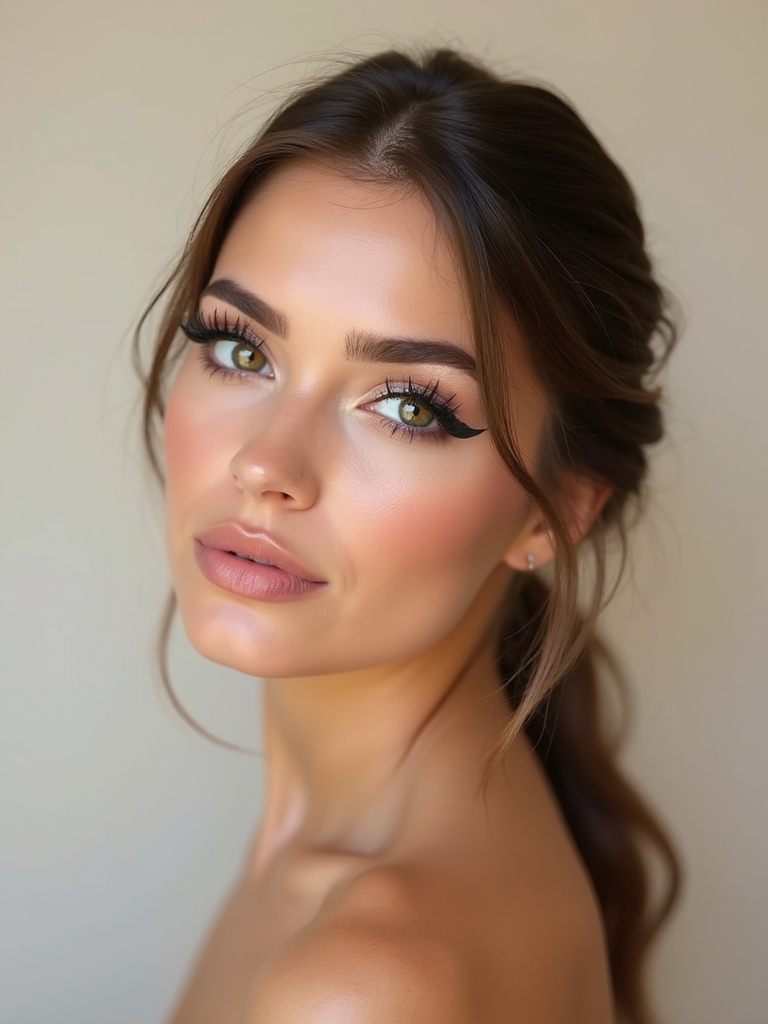
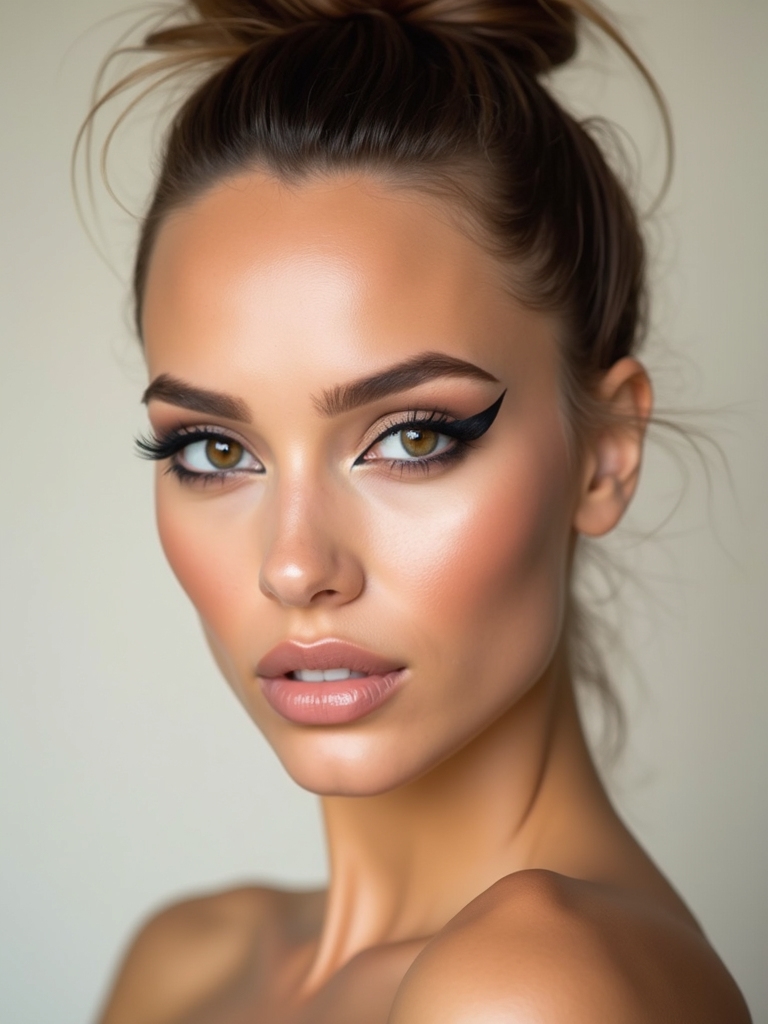
Lift the Outer Corner, Keep the Inner Clean
A cat eye lifts the face because the weight sits at the outer corner, so keep the energy there and let the inner corner stay light. A line that is thick all the way across drags the eye down instead of up.
- Keep the liner whisper-thin at the inner corner.
- Build the thickness only across the outer third and the wing.
- Leave the inner corner bare or add a dot of light shimmer to open the eye.
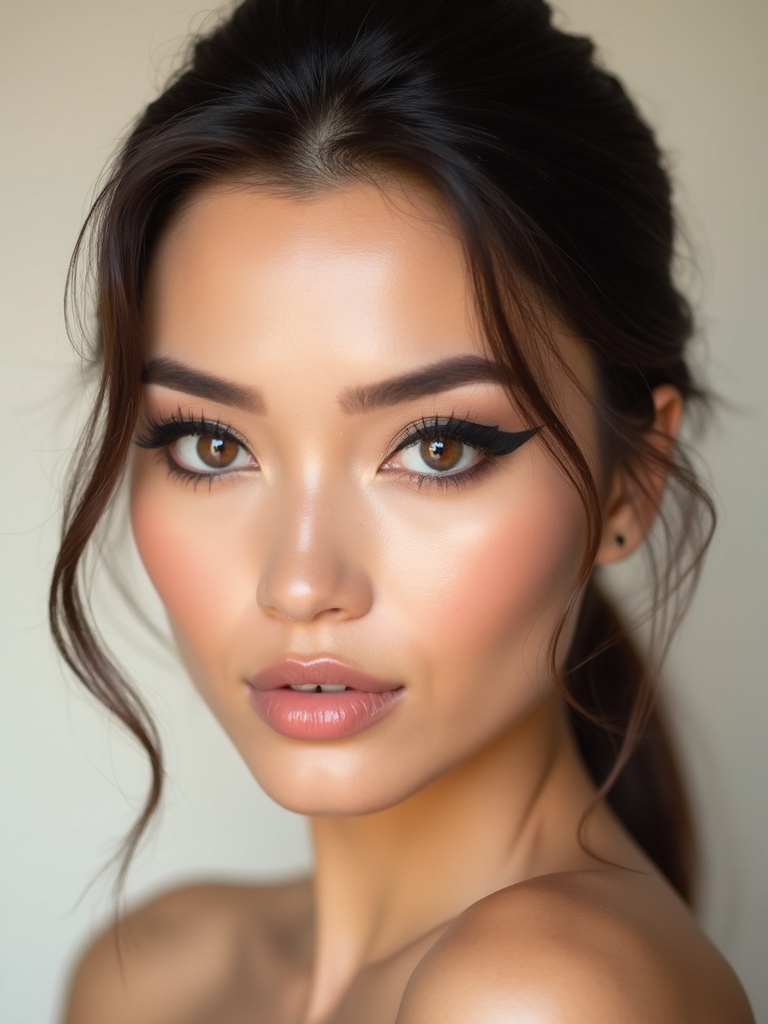
Take the Wing Above the Crease

If your wing vanishes the second you open your eyes, you almost certainly have hooded or monolid lids, and the standard tutorial advice fails you. The fix is to draw the wing with your eye fully open and place the tip slightly above where the crease or hood folds, so the flick still shows when you are looking straight ahead.
Clients with hooded eyes ask me about this constantly, and the answer is to stop drawing a bigger wing with the eye closed. Map it open, float it above the fold, and it finally stays visible all day.
- Draw with your eye open so you can see exactly where the fold hides the line.
- Float the wing tip just above the hood or monolid fold.
- Keep the lid line thin so the small visible space does not look crowded.
Set With Powder for a Smudge-Free Wing

Even a perfect wing is useless if it transfers onto your hooded crease by noon. Setting the liner is what keeps it put, and it takes ten seconds. A light dusting of powder soaks up the very oils that break your liner down.
- Press a translucent powder over the liner with a small brush.
- On the lid crease, set with a matte shadow close to your liner color.
- Finish the whole eye with a setting spray on long days.
Clean Up With Micellar and a Q-Tip
Nobody draws a perfect wing in one go, and the part that makes liner look professional is the cleanup afterward. A cotton swab dipped in micellar water is your eraser for tidying the bottom edge and squaring off the wing.
Carve the Edge Clean
Wrap a tiny bit of cotton around the swab tip and wipe along the underside of the wing in one straight motion. This carves a crisp, clean line out of a slightly fuzzy one in seconds.
Do the cleanup before you set with powder, then set over the sharpened edge. Even my most precise clients rely on this step, so do not skip it thinking your line has to be perfect first.
A Tiny Upward Flick for Daytime
You do not need a dramatic wing every day. A tiny upward flick, barely past the outer corner, gives you the same lifted effect while reading polished enough for the office. This is the version I wear most myself.
- Extend the line only a few millimeters past the outer corner.
- Keep the flick low and short, following your lash line up.
- Skip the thick lid line so the look stays soft and daytime-ready.
Finish With Lifting Mascara Placement

The wing and your lashes should work together, and where you place mascara decides whether they do. Concentrate the product on the outer lashes and sweep them up and out, so they fan toward the wing tip and continue its line.
Skipping or going light on the inner lashes keeps the lift weighted to the outer corner, the same place your wing lives. A single coat angled outward beats three coats brushed straight up.
- Wiggle the wand at the roots of the outer lashes and pull up and out.
- Go light on the inner lashes to keep the weight at the corner.
- Add a few outer false-lash clusters for a real lift, like with false lashes.
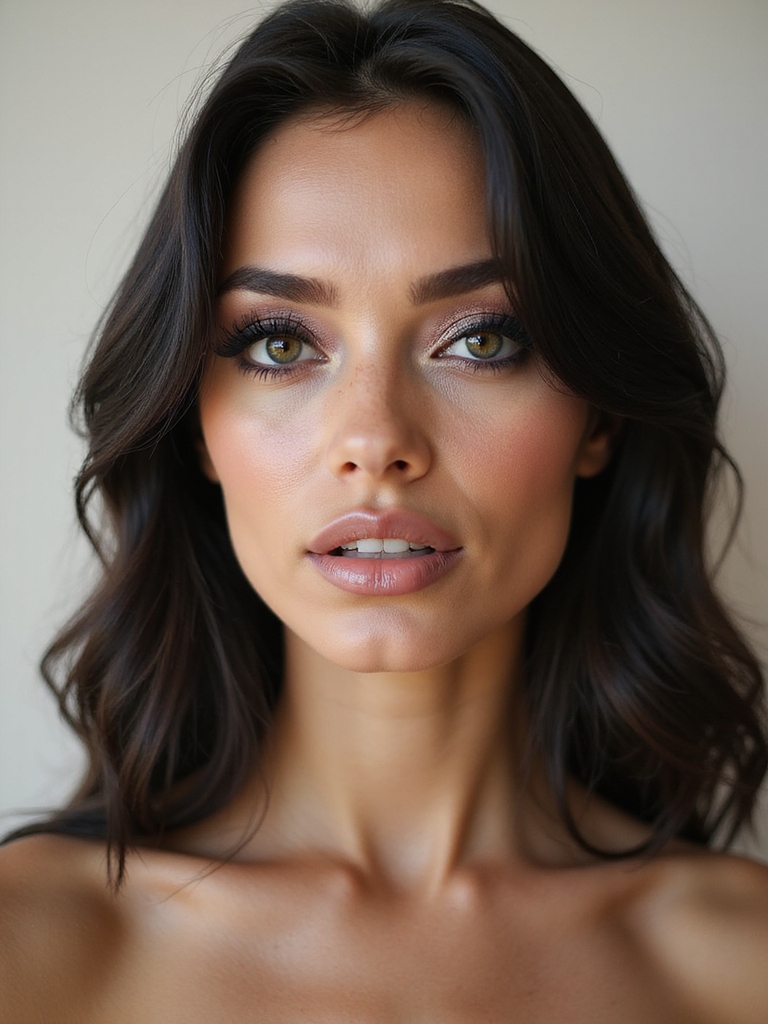
Who It Suits Best
The honest truth is that a cat eye suits almost everyone, because the angle and weight can be tuned to any eye shape. Round eyes get a longer, straighter wing to stretch them; downturned eyes get a steeper lift at the outer corner to counter the droop; hooded and monolid eyes get the wing floated above the fold so it shows when the eye is open. The shape is endlessly adaptable, which is exactly why it has outlasted every passing eyeliner trend.
If you are brand new to it, give yourself five minutes per eye and a felt-tip pen, and expect the first week to look rough. The hand learns fast. Once the angle clicks, you will draw it without thinking, and you can branch out into a full smokey eye makeup or a sharper winged eyeliner from the same foundation. For more soft daily looks, our everyday makeup ideas pair well with a subtle flick.
Cat Eye Questions People Always Ask
?How do I make both wings even?
Map each one with dots first, follow the angle of your lower lash line, and check the result in a flipped photo. Match the weaker wing to the stronger one, and always draw at eye level rather than looking down.
?What is the best liner for a beginner?
A felt-tip pen for control, or sketching the wing in matte shadow first and tracing over it with gel. Both let you fix the shape before you commit, which liquid liner does not.
?How do I stop my wing from smudging?
Use a waterproof formula, set the liner with a little translucent powder or matching matte shadow, and finish with setting spray. Oily lids especially need that setting step to stop transfer onto the crease.
?How do I do a cat eye on hooded or monolid eyes?
Draw the wing with your eye open and float the tip just above where the fold sits, so the flick stays visible looking straight ahead. Never map it with the eye closed, or it disappears when you open it.
Your Wing, One Trick at a Time
A clean cat eye really does come down to mechanics, not magic: map the angle off your own lash line, build the line thin to thick, anchor your hand, and clean up the edge afterward. Work on one trick at a time rather than trying to fix everything in a single sitting.
Adapt the wing to your eye shape, especially if you have hooded or monolid lids, and the look stops fighting you. Bookmark this, keep your micellar swab close, and give your hands a week. The lift is worth every wobbly practice run.