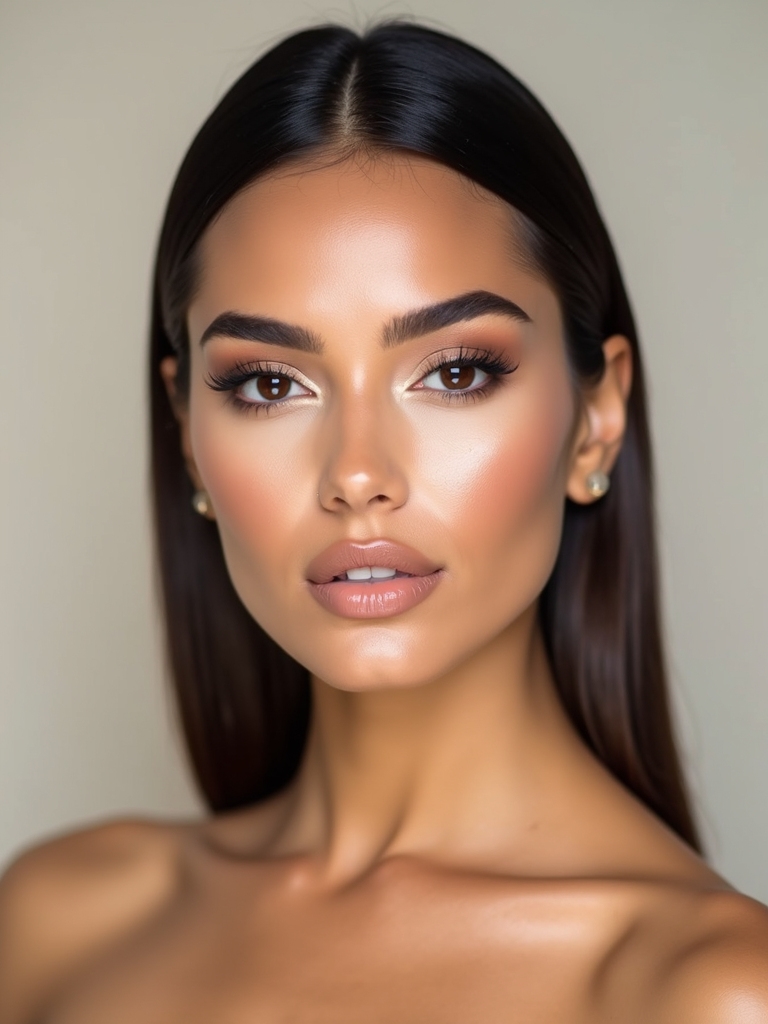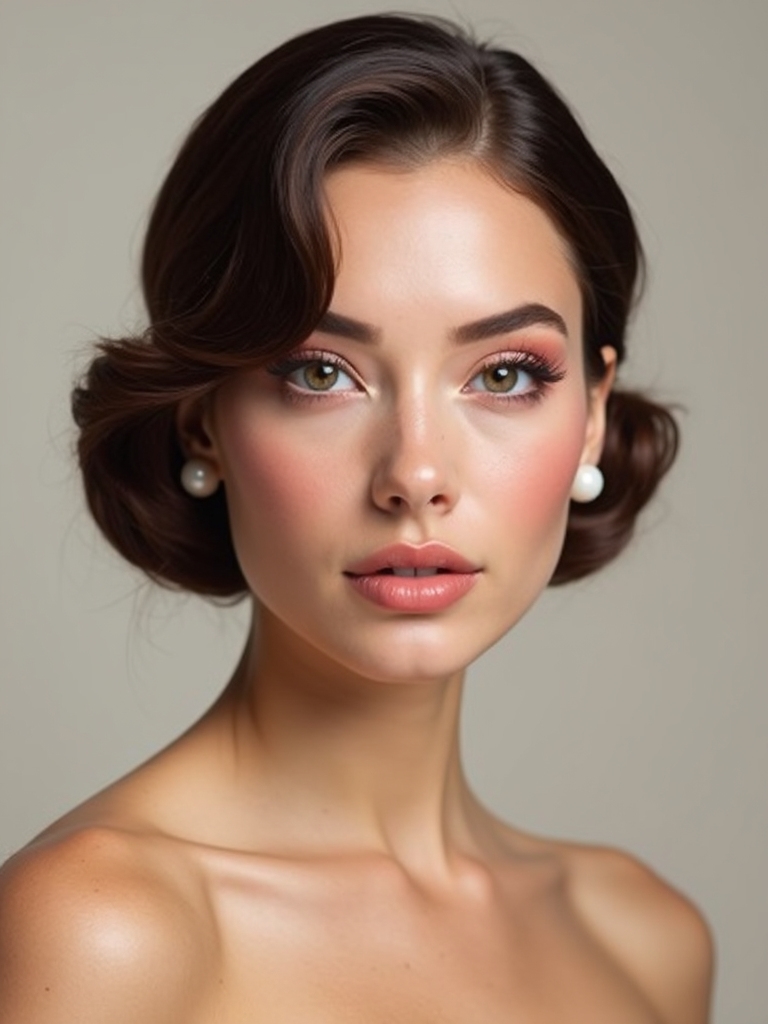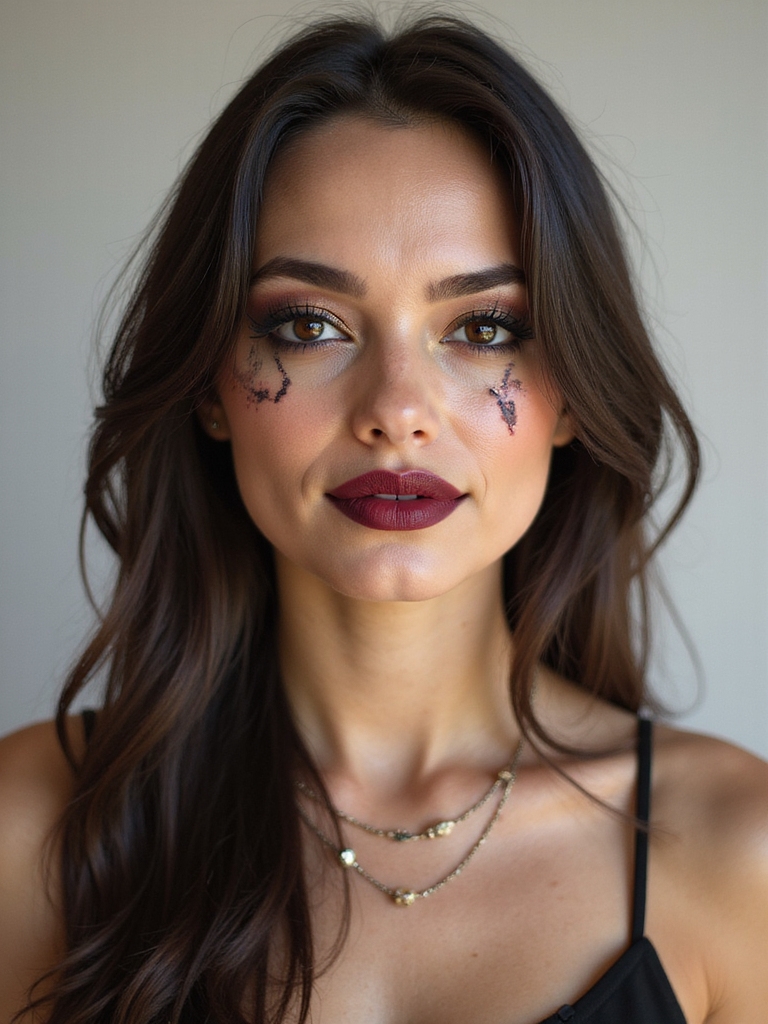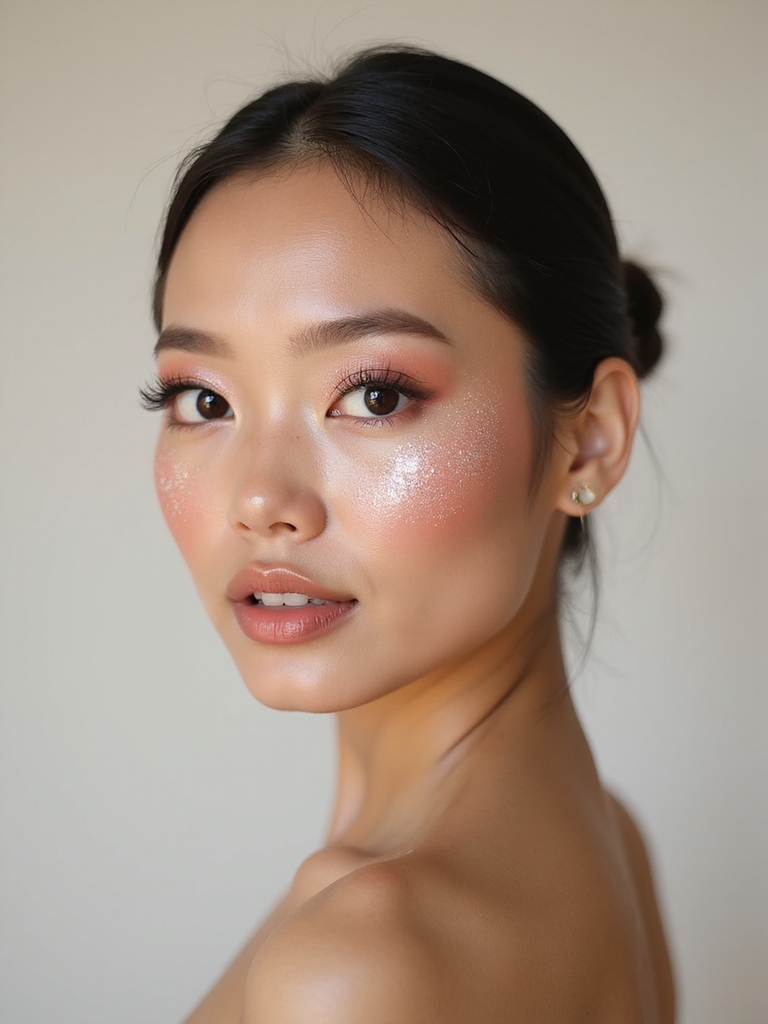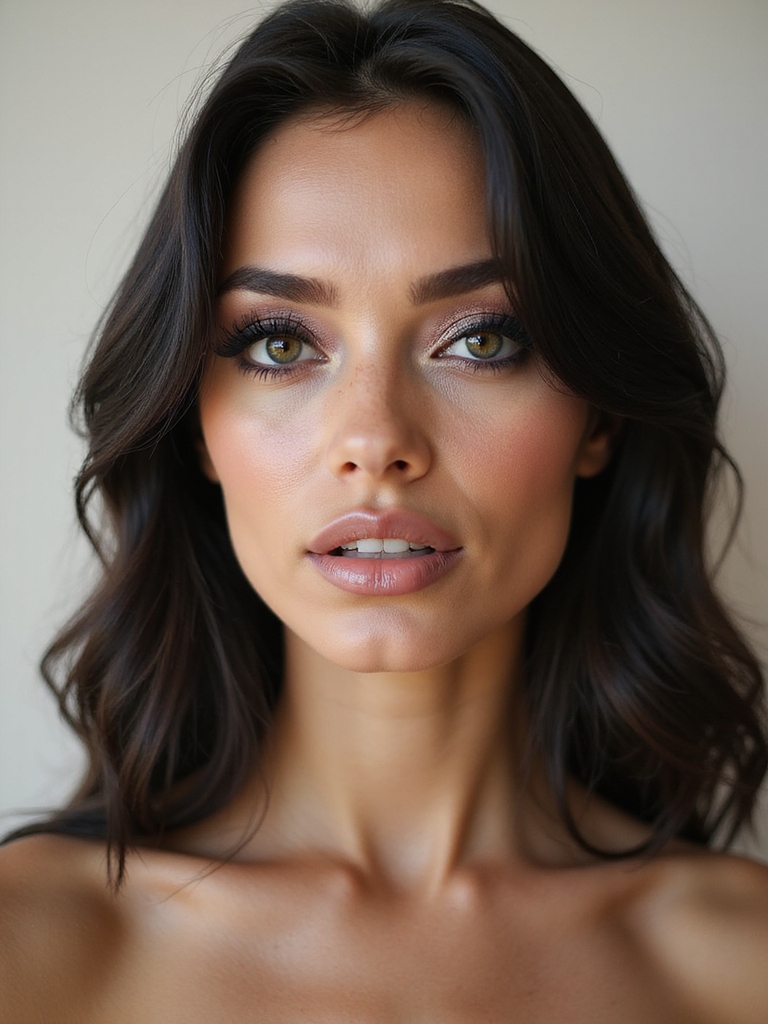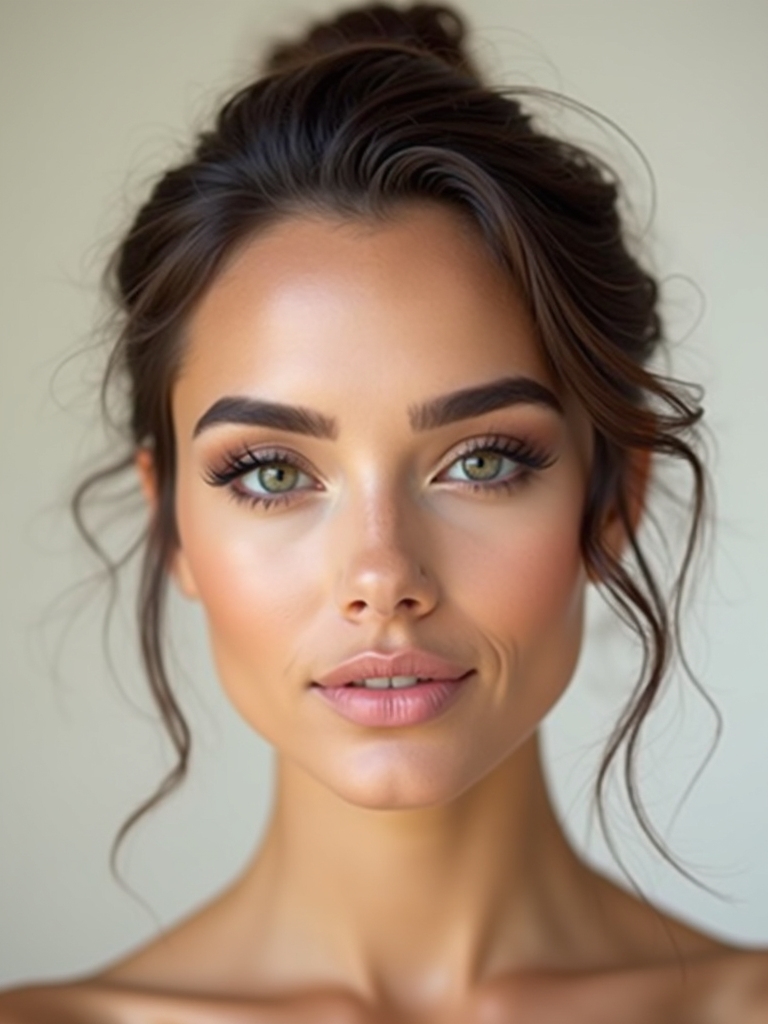
Here’s what nobody tells you about the makeup trends taking over right now: they’re less about specific products and more about technique. Master a few core skills, sheer layering, smart placement, mixing textures, and you can recreate any of them with what you already own.
So instead of just showing you the looks, this guide focuses on the how behind each one. Learn these techniques once and you’ll stop needing tutorials. Here are fifteen trend-driven looks and the skill that makes each one actually work.
The Quick Version
- The trends taking over share one thing: technique over product, sheer layers, careful placement, mixed textures.
- Glow comes from layering thin, dewy formulas; heavy coverage only smothers it.
- Placement, where you put blush, highlight, and liner, matters more than the shade itself.
- Texture contrast, dewy skin against a matte eye, is what makes a simple look editorial.
Layering for Glazed Doughnut Skin

Glazed doughnut skin looks like one product, but it’s really three thin ones layered for depth. That layering is what separates a true glow from a greasy shine.
Start with a hydrating primer, press in a sheer skin tint, then add a liquid highlighter only on the high points, building shine in stages. Each layer stays thin, so the glow looks like real, lit skin. Set nothing but the T-zone, and the luminosity holds.

Getting Glassy Vinyl Shine to Last

Glassy vinyl shine on the lips is everywhere, but the step most people miss is the base underneath. Gloss alone slides off; gloss over a stain stays.
Lay down a lip stain or a creamy tint first, let it set for a minute, then layer the vinyl gloss on top. The stain grips the lip and holds the color while the gloss provides the wet, non-sticky shine.
This two-layer method is why some people’s gloss survives coffee and yours doesn’t. It’s all in the base.
Build any trend look in this order:
1Skin first
Layer a sheer base and cream blush for a lit, dewy canvas.
2Eyes second
Add one technique: a thin flick, a soft smoke, or a graphic line.
3Lips last
Finish with a stained, blurred, or glossy lip in your tone.
The Candlelit Soft-Focus Glow

The candlelit soft-focus glow is about placing light where candlelight would naturally fall, only on the high points. Placement is the whole skill here.
Light Where It Falls
Press a cream or balm highlighter onto the tops of the cheekbones, the bridge of the nose, the cupid’s bow, and a touch on the brow bone, the high points light hits first. Leave the rest soft so the glow has something to read against.
Blanketing your whole face in highlighter just looks oily. Targeted placement is what creates that lit-from-a-candle effect, and it flatters every skin tone, glowing warmest on deep complexions.
A Subtle Lifted Lash Flick

A subtle, thin lifted lash flick is the move that opens the eye without a full liner. It all comes down to direction: you aim the tiny flick up toward the end of your brow, which lifts the whole eye. Use a fine brush or a felt-tip and draw a hair-thin line from the outer lashes, flicking it upward and keeping it short. It’s almost invisible up close but transforms the eye’s shape, and it works on every eye and skin tone.
- Aim the flick up toward the brow tail to lift the eye
- Keep it hair-thin and short for a natural lift
- Opens the eye without a full liner look
Two things people get wrong about makeup trends:
❌ Myth: Trends need expensive products
✅ Reality: Technique beats product every time. A drugstore cream blush placed well beats a luxury one swiped on wrong.
❌ Myth: You have to follow every trend
✅ Reality: Pick the ones that suit your features and skip the rest. Trends are a menu, not a checklist.
From Clean Monochrome to Graphic

A clean monochrome base is the launchpad for a graphic look, and building one on top of the other is a skill worth knowing. Start simple, then add drama only where you want it.
Wash a single neutral tone across the lids, cheeks, and lips for a clean monochrome canvas, and add one graphic element, a floating liner or a bold lip, once that base is set. The clean base lets the graphic element pop without the face looking busy.
This order, neutral first and statement second, is how editorial looks stay wearable. It’s the same logic running through every trend here.
Mastering Creamy Latte Makeup

Creamy caramel latte makeup is a lesson in working tonally, keeping every product in the same warm-brown family. The skill is matching depths across every product.
Choose a warm brown shadow, a bronzy blush, and a caramel-nude lip that all sit at a similar depth, then blend them in cream-on-cream textures for cohesion. The tonal harmony is what makes it look rich. Our soft glam makeup guide covers the polished version.
🅰️Go dewy
Layer sheer, glowy formulas for the lit-from-within trend. Best for normal-to-dry skin; set only the T-zone.
🅱️Go soft-matte
A blurred, velvet finish that lasts. Best for oily skin or a long day, with a dewy highlight on top for life.
Sheer Sunlit Watercolor Blush

Sheer sunlit watercolor blush is about diffusion, building color so soft it looks lit from within. The method:
- Use a watery liquid or cream blush, one or two drops only
- Tap it on with a finger and blend right away, before it sets
- Build in sheer layers, since you can always add more
- Sweep it slightly high for a sunlit, lifted placement
Feathery Laminated Brows With Hold

Feathery laminated brows with a glossy hold are the brushed-up shape everyone wants, and it’s all in the setting. A salon lamination lifts the hairs semi-permanently, but you can fake it at home: brush the brows straight up with a strong-hold gel, then sweep the tails out and let the gel dry in place. The hairs stay lifted and feathery, with a slight gloss. It frames the face, opens the eyes, and suits every brow color and face shape.
- Brush the brows straight up with a strong-hold gel
- Sweep the tails out and let the gel set
- Fakes a salon lamination, feathery and lifted
Heads-Up
Layered, glowy trends can slide on oily skin or in heat. Set your oily zones, use long-wear cream formulas, and carry blotting papers, not powder, so you can refresh without dulling the glow.
Building Sheer, Layered Luminous Skin

Building sheer, layered luminous skin is the foundational skill behind every glowy trend, and the principle is simple: thin layers beat one thick one. Start with skincare and a hydrating primer, press in a sheer skin tint only where you need evening out, and spot-conceal, leaving the rest bare.
Each sheer layer lets your real skin show through, which is what looks luminous rather than cakey. It works on every skin tone when you match the tint, and it dodges the flat, ashy cast heavy coverage can give deep skin. It’s the base of the no-makeup makeup look.
- Thin layers of sheer product, not one thick coat
- Spot-conceal instead of full coverage
- Lets real skin show through for true luminosity
Soft-Focus Velvet Matte Lips

Soft-focus velvet matte lips are the antidote to drying matte formulas, and the method makes all the difference. A blurred matte should look like a soft stain, not a flat, parched coat.
Apply a creamy matte lipstick, press your lips together, then blot once with a tissue, which mutes the color into a soft, blurred finish. A dab of balm on the center keeps it from looking dry.
That blot-and-blur step is what turns a heavy matte into a modern, soft-focus lip. It flatters every depth, from a soft rose on fair skin to a deep berry or brown on deep skin.
A Lifted, Razor-Thin Smoky Eye

A lifted, razor-thin smoky eye proves a smoky look doesn’t need to be heavy. The skill is keeping the smoke tight to the lash line and angling it up.
Thin and Lifted, Not Heavy
Smudge a thin band of dark shadow right at the upper lashes, then drag it up and out at the outer corner, keeping it off the rest of the lid. The result is a sharp, lifted smoke that opens the eye right up.
Keeping the smoke thin and lifted is what makes it modern and wearable. A warm brown smoke is the softest version; our makeup for brown eyes guide has shade pairings.
Placing Dewy Highlight With Intention
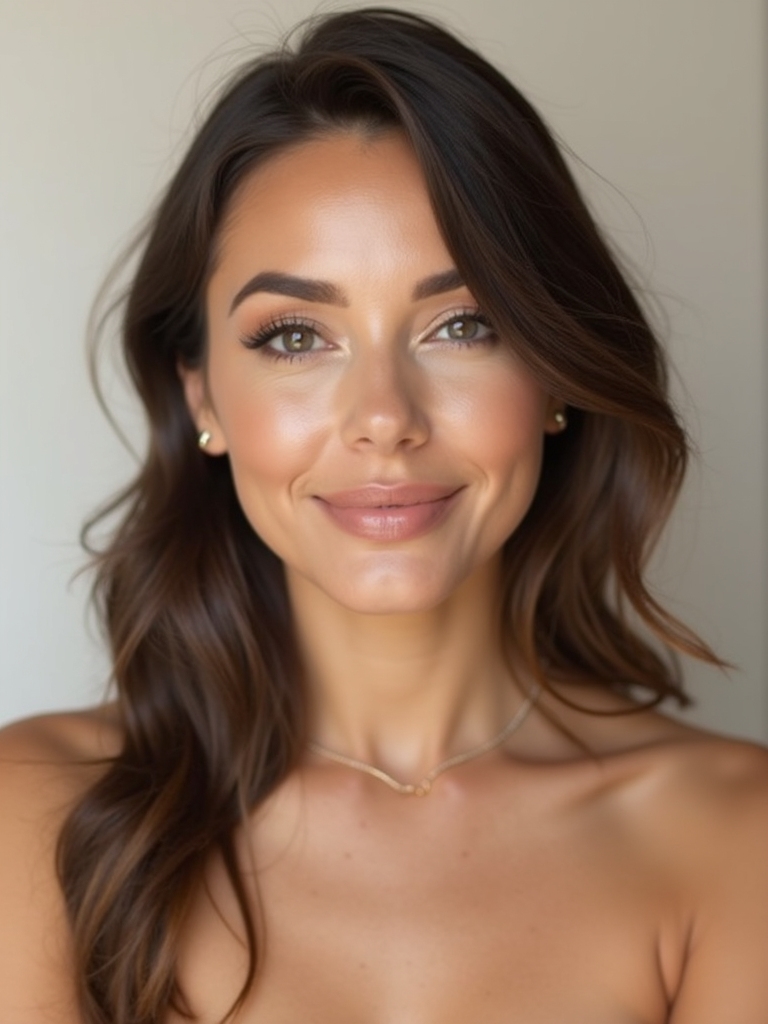
Intentional dewy highlight placement is the move that separates a pro finish from an amateur one. Highlighter goes exactly where you want light to bounce, and nowhere else. Place a dewy liquid highlighter on the very tops of the cheekbones, down the center of the nose, on the cupid’s bow, and at the inner corners of the eyes.
Those specific points lift and brighten the face. Skip the jawline and forehead, where shine just looks greasy. Once you learn the placement, your glow always looks deliberate.
- Highlight only the high points light naturally hits
- Cheekbones, nose bridge, cupid’s bow, inner corners
- Skip the forehead and jaw, where shine looks oily
A Neon-Metallic Inner Corner

A neon-metallic inner corner is a tiny move with an outsized payoff. A dot of bright, metallic color, electric blue, green, or pink, placed at the inner corners of the eyes catches the light and adds an unexpected pop with no full color eye. Pat it on with a fingertip over a neutral eye, and the metallic finish makes the color read as light. It’s the easiest way to wear neon, and it pops especially hard against deep skin and dark eyes.
- A metallic neon dot at the inner corners
- Adds a pop of light without a full color eye
- Pops hardest against deep skin and dark eyes
Unified Monochrome in Mixed Textures

Unified monochrome in mixed textures is the advanced version of a one-color look: same shade, different finishes. The approach adds depth that a flat monochrome lacks.
Take one shade, say a soft terracotta, and wear it matte on the eyes, satin-cream on the cheeks, and glossy on the lips. The single color stays cohesive while the varied textures keep it from looking flat. It’s a clever way to look pulled-together and dimensional at once.
- One shade, three finishes: matte, cream, gloss
- The texture mix adds depth a flat monochrome lacks
- Cohesive and dimensional at the same time
Floating, Lifted Graphic Liner

Floating, lifted graphic liner is the most technical eye of the moment, and the secret is the bare lid beneath. With nothing to blend, precision is the only skill you need. The method:
- Map the line lightly first, following your crease, with a pale pencil
- Trace over it with a gel or liquid liner in small strokes
- Lift the outer end up toward the brow for an opened-eye effect
- Keep the lid bare or glossy so the line appears to float
Styling Tips to Master the Trends
A few principles carry across every trend here. Technique beats product: placement and layering matter far more than how expensive your makeup is. Build glow in thin layers, place highlight and blush exactly where light should fall, and mix textures, dewy skin against a matte eye, for that editorial depth.
Pick what suits you and skip the rest, since trends are a menu, not a checklist. And always work skin-first, because a luminous base is the canvas these looks are built on. For the individual looks taking over, see our makeup ideas guide, and for more creative experiments, our makeup inspiration collection.
Makeup Inspo: Quick Answers
?What makeup trends are taking over right now?
Skin-first glow leads: glazed doughnut skin, layered luminous bases, and candlelit highlight placement. On top of that, soft-focus matte lips, razor-thin lifted smoky eyes, latte tones, and floating graphic liner are everywhere. The common thread is technique over heavy product.
?Do I need expensive makeup to do these looks?
Not at all. These trends reward technique, not price. A well-placed drugstore cream blush beats a luxury one applied wrong. If you spend anywhere, spend on a good base and tools, and learn the placement and layering skills, which cost nothing.
?How do I make trendy makeup last all day?
Layer thin, use long-wear cream and stain formulas, and set only your oily zones so the rest stays dewy. Lock a glowy look with a fine setting spray, and carry blotting papers instead of powder to refresh without dulling the glow.
?Which trends suit beginners?
Start with the skin-first ones, glazed skin, watercolor blush, and a blurred lip, since they’re forgiving and use fingers instead of brushes. Add a lifted lash flick or a neon inner corner once you’re comfortable, and save floating liner for last.
?Do these trends work on deep skin tones?
Completely. Match your base depth to avoid an ashy cast, then choose richer versions of each shade: deeper berries, bronze metallics, and brighter neons all glow beautifully on deep, melanin-rich skin. Every technique here translates across complexions.
Learn the Skill, Wear the Trend
The makeup taking over right now comes down to a handful of techniques, sheer layering, intentional placement, mixed textures, that you can use forever, far more than the products you own. Learn them once and every future trend becomes easy.
So try this first: pick one technique, layering for glow, placing highlight, or building a floating line, and practice it this week. Master the skill behind the look, and you’ll never be at the mercy of a tutorial again.
More Looks We Love